New boundaries w. Ferrari 250 GTE
Hey,
Ok, this was a project of the next level. This bridge and landscape include parts I have never been doing before; therefore, it took longer than other projects.
I have never done a complete landscape, laser cut architecture, or working with epoxy.
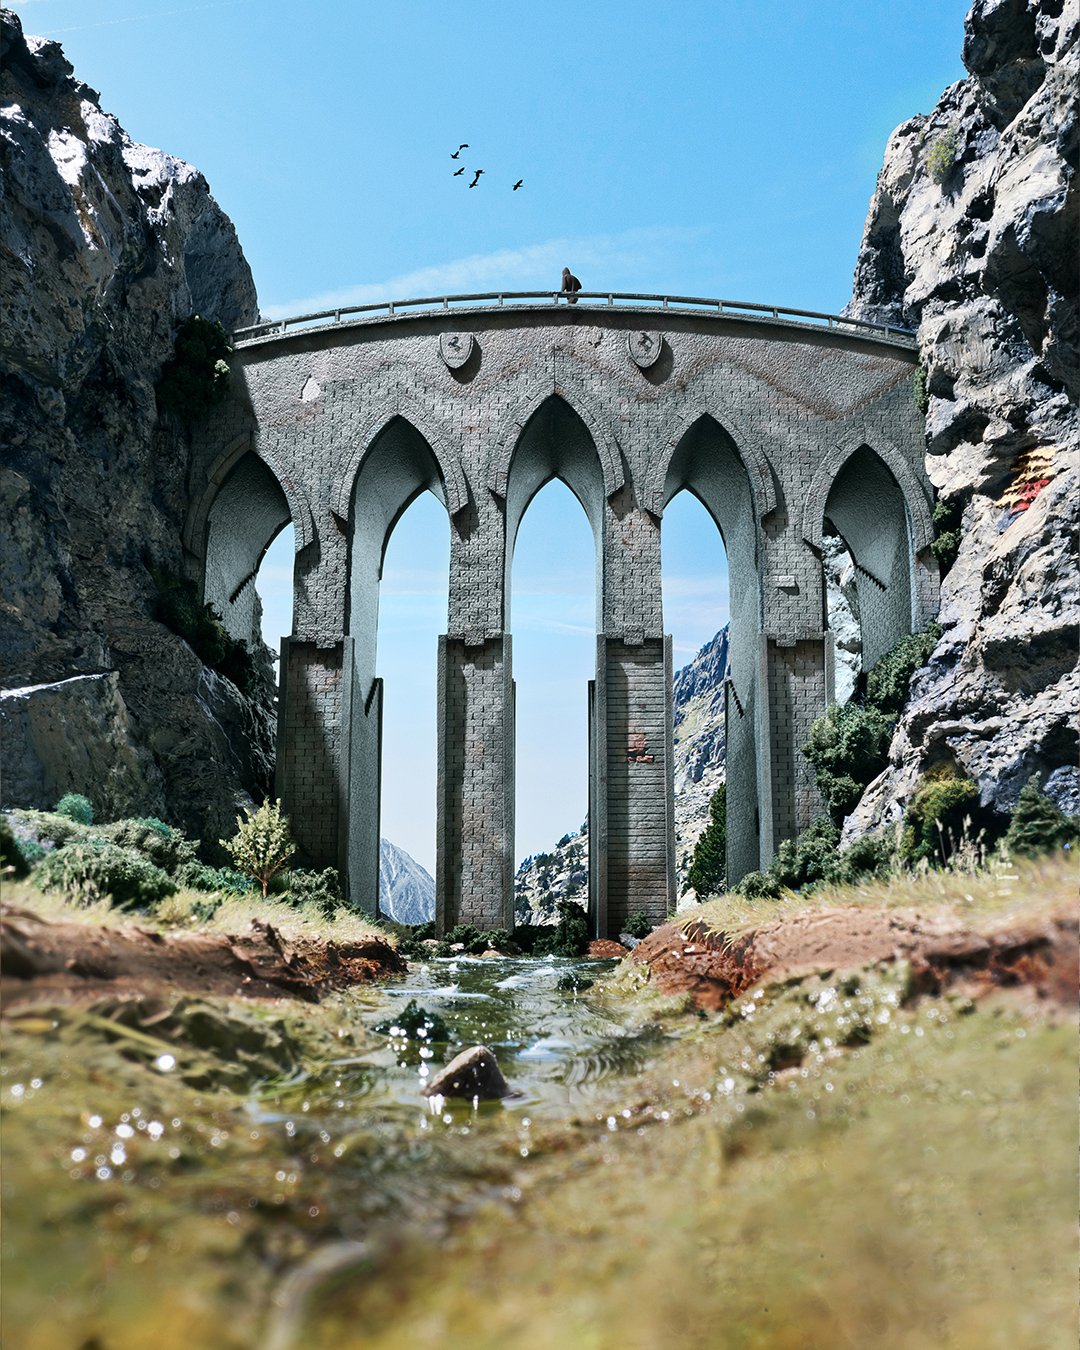
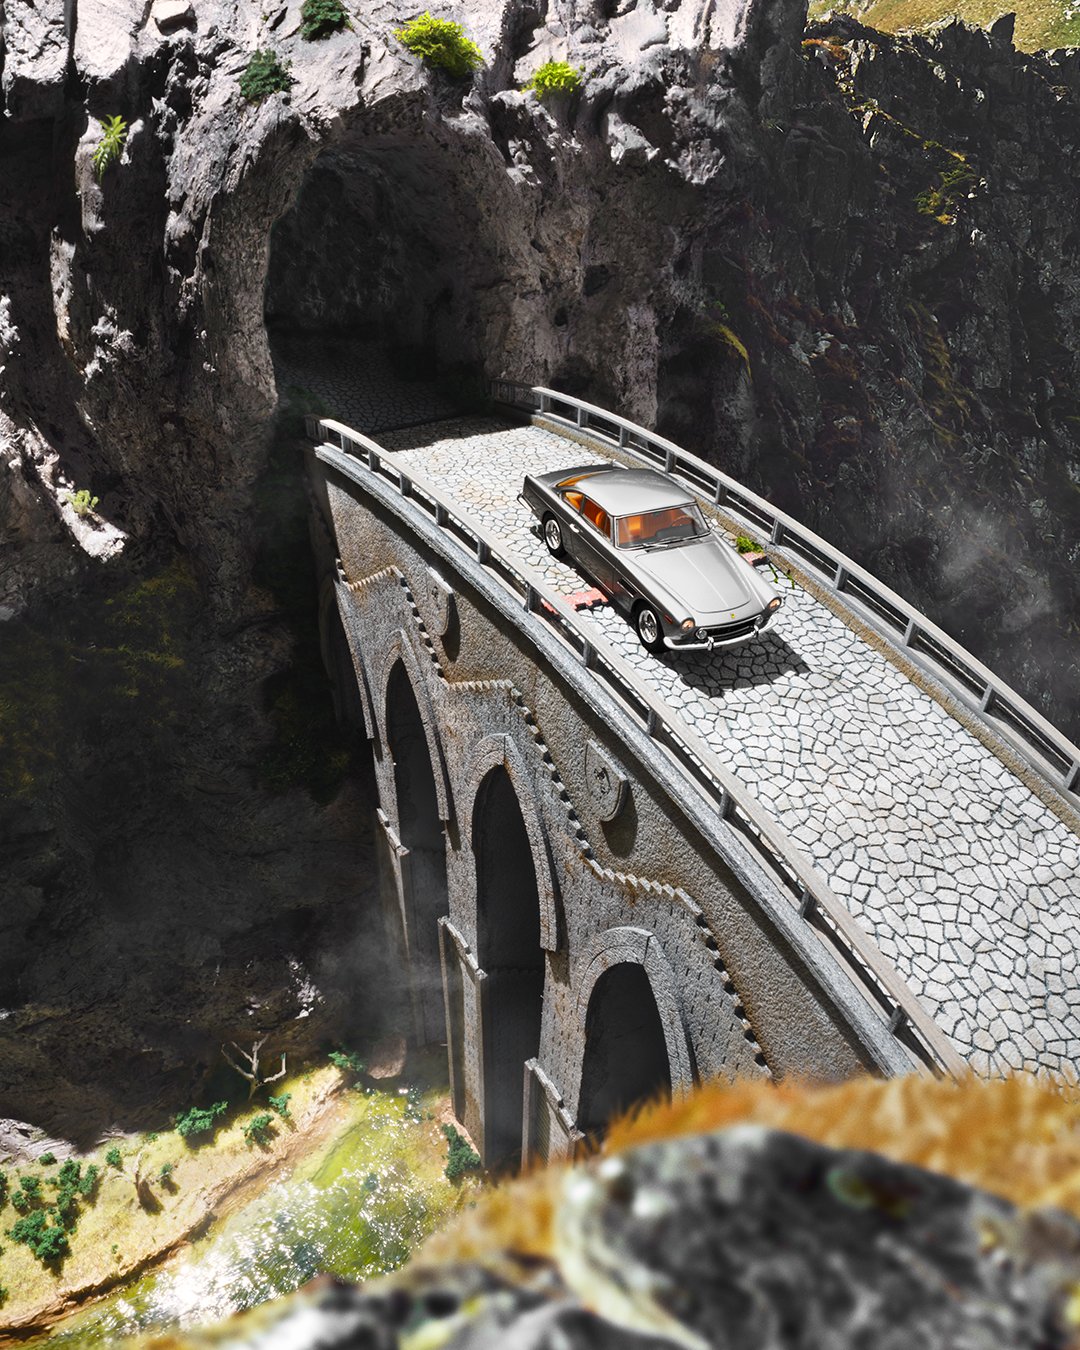
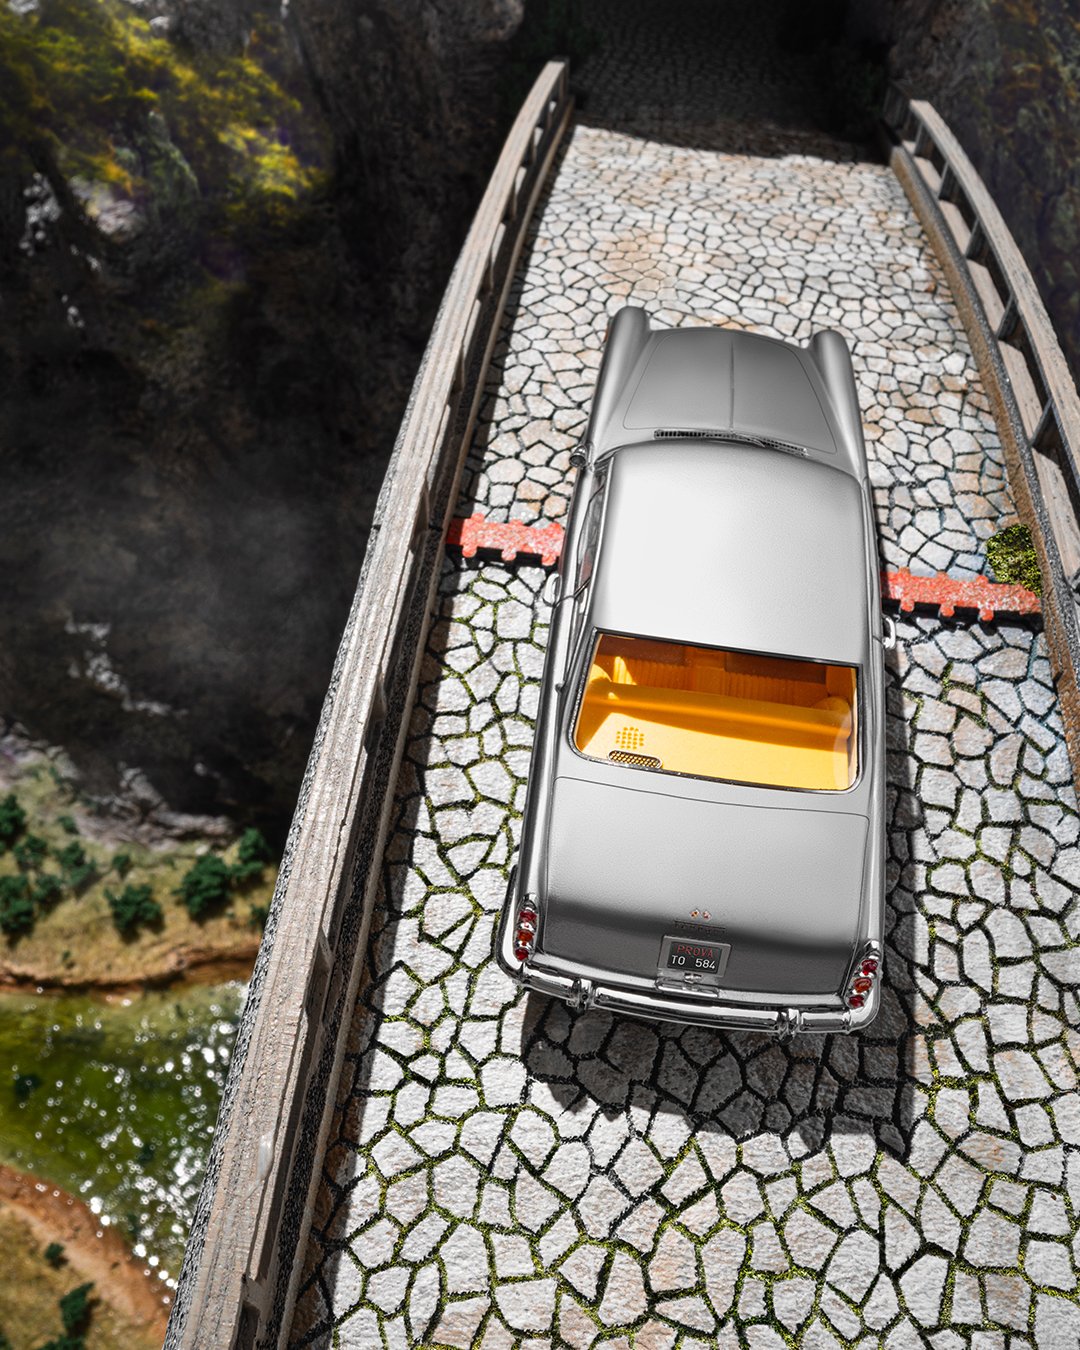
The imagination I had before I started this was to create something as accurate as possible. That includes sharp edges, clear colors, and tiny details. And it should consist of car shots and a landscape photo of this Ferrari Bridge between two mountainsides. I added a river in between to get even more experience.
What I do not like about dioramas is some gaps and bold shapes, for example, bricks, pavements, or tiny details. It's hard to get in a "realistic" shape or form and not get those gaps between materials. I have also experienced that, which means more post-work to fix those things.
I decided to sketch my bridge in illustrator; I knew precisely what kind of bridge I was looking for. What confused me was when I realized I should cut this piece out with a laser cutter, it was Many parts that I didn't think about in the first place.
I wanted a steady construction and not to see it wiggly when I should paint it and later photographed it.
When I got all parts, I was curious to see how they looked like all pieces together, and I couldn't be happier about the results; it looked fantastic.
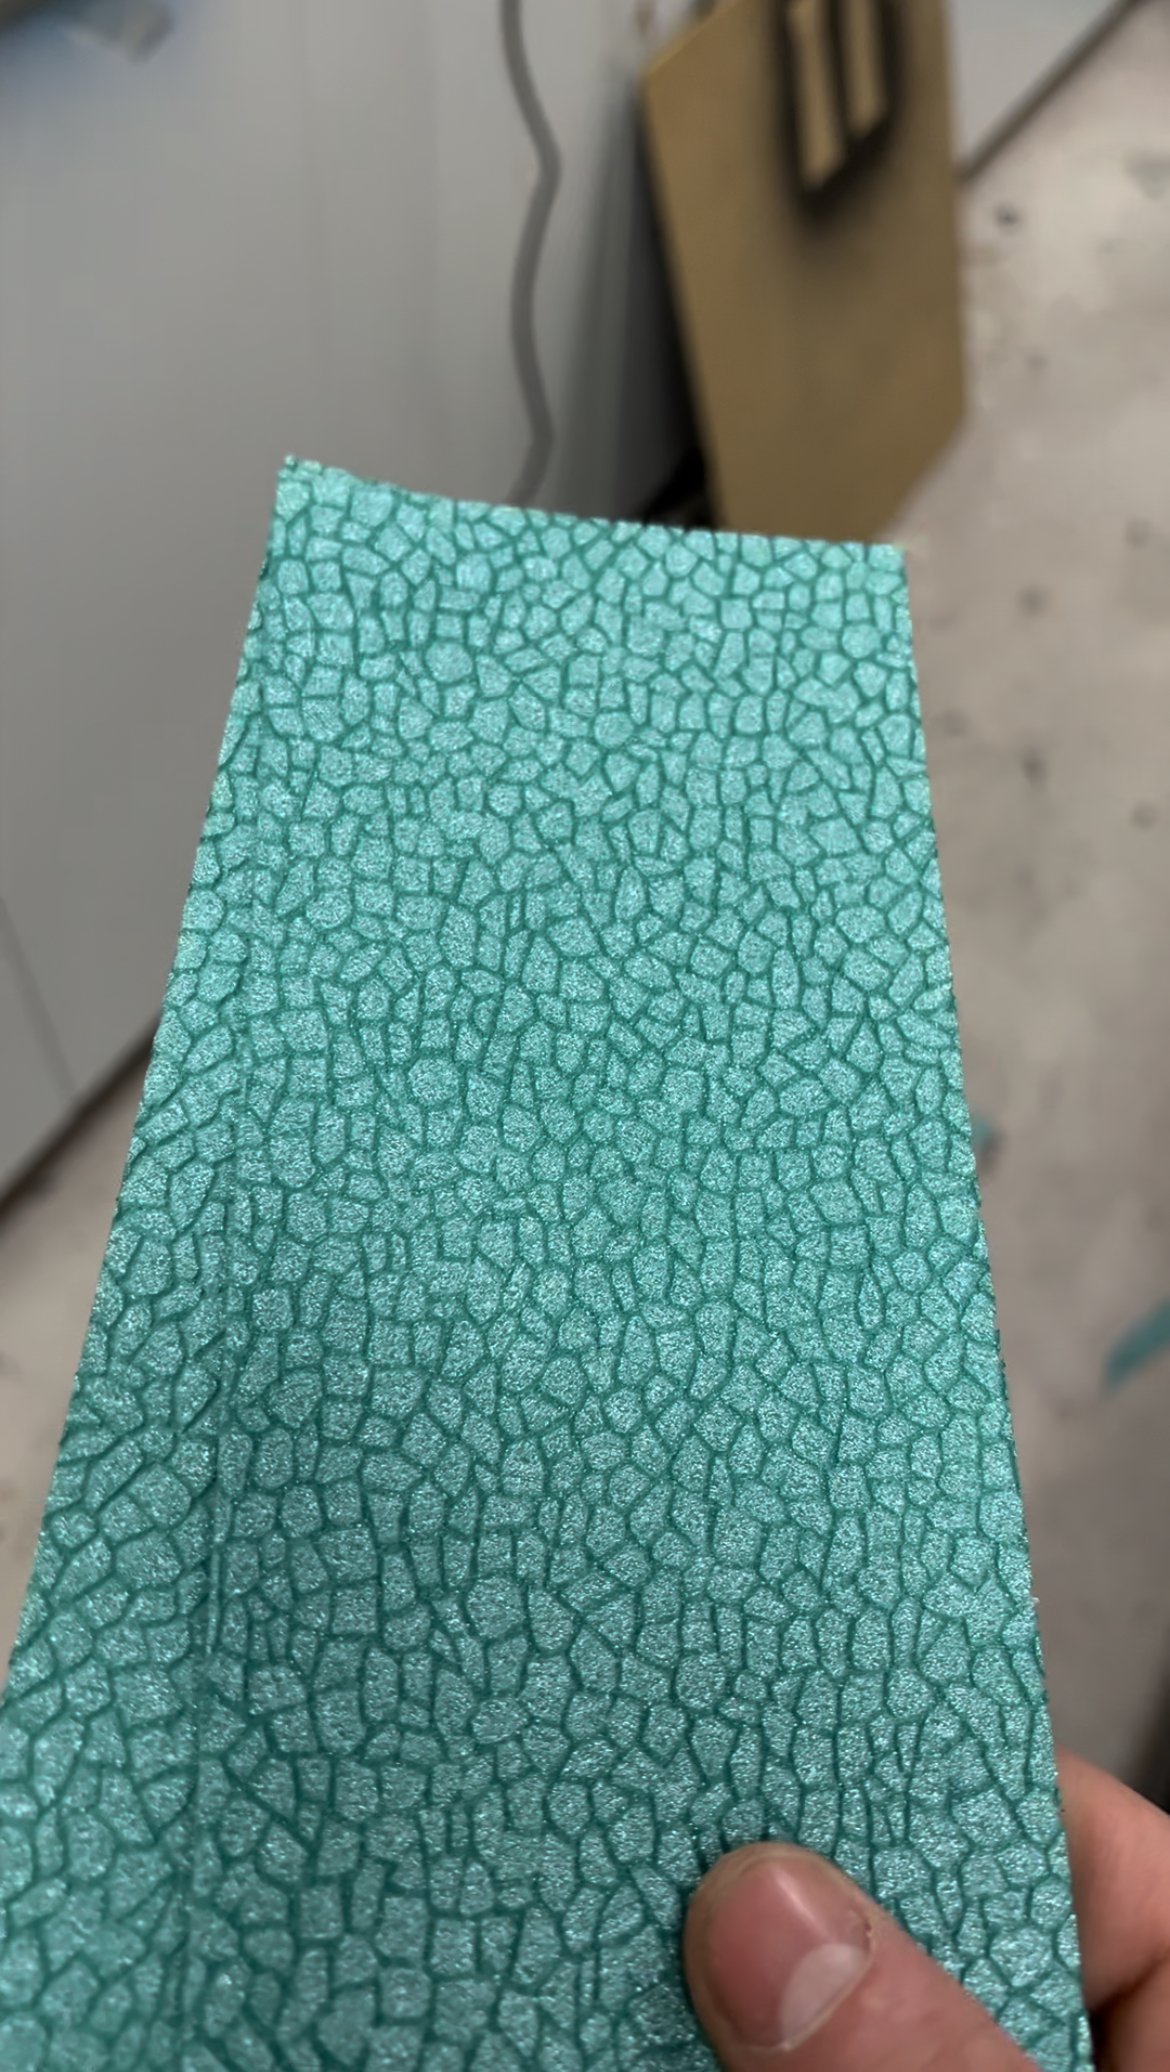
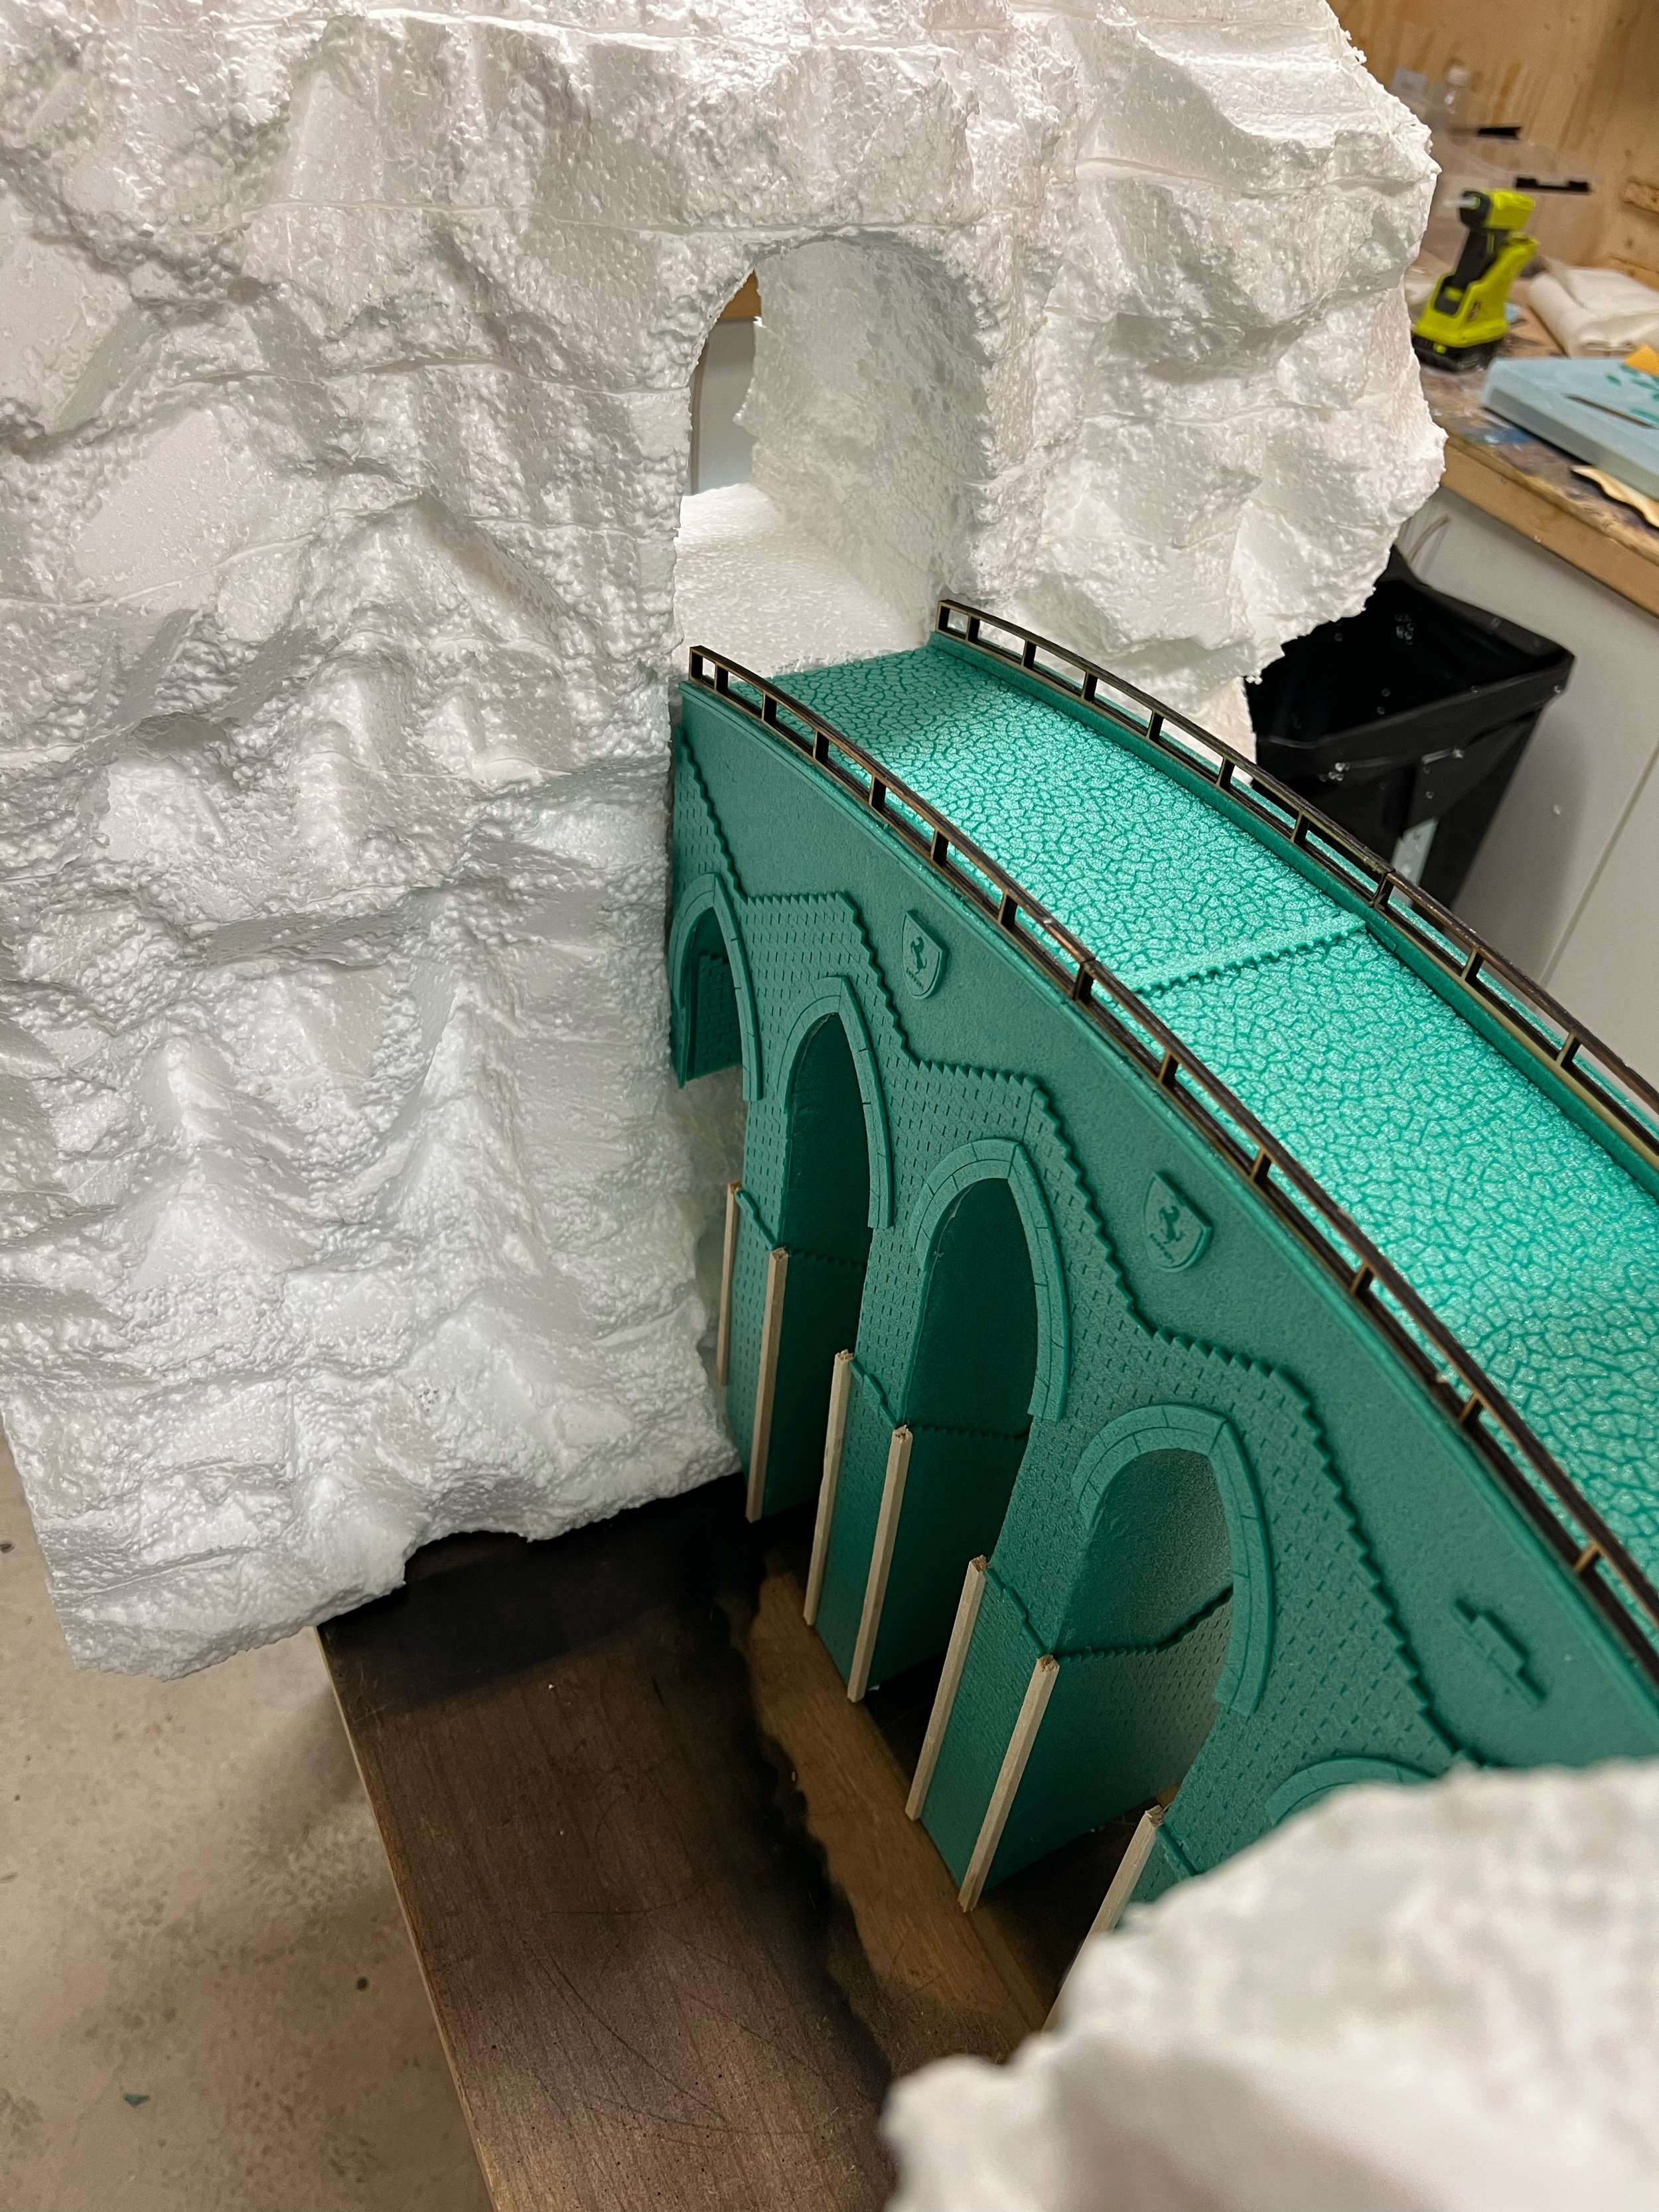
The next step was making this covered with bricks, etc. I had to hide the awful wood structure in some way. I went to my local construction store and found XPS in 2-3mm sheets for the floor. "this is perfect."
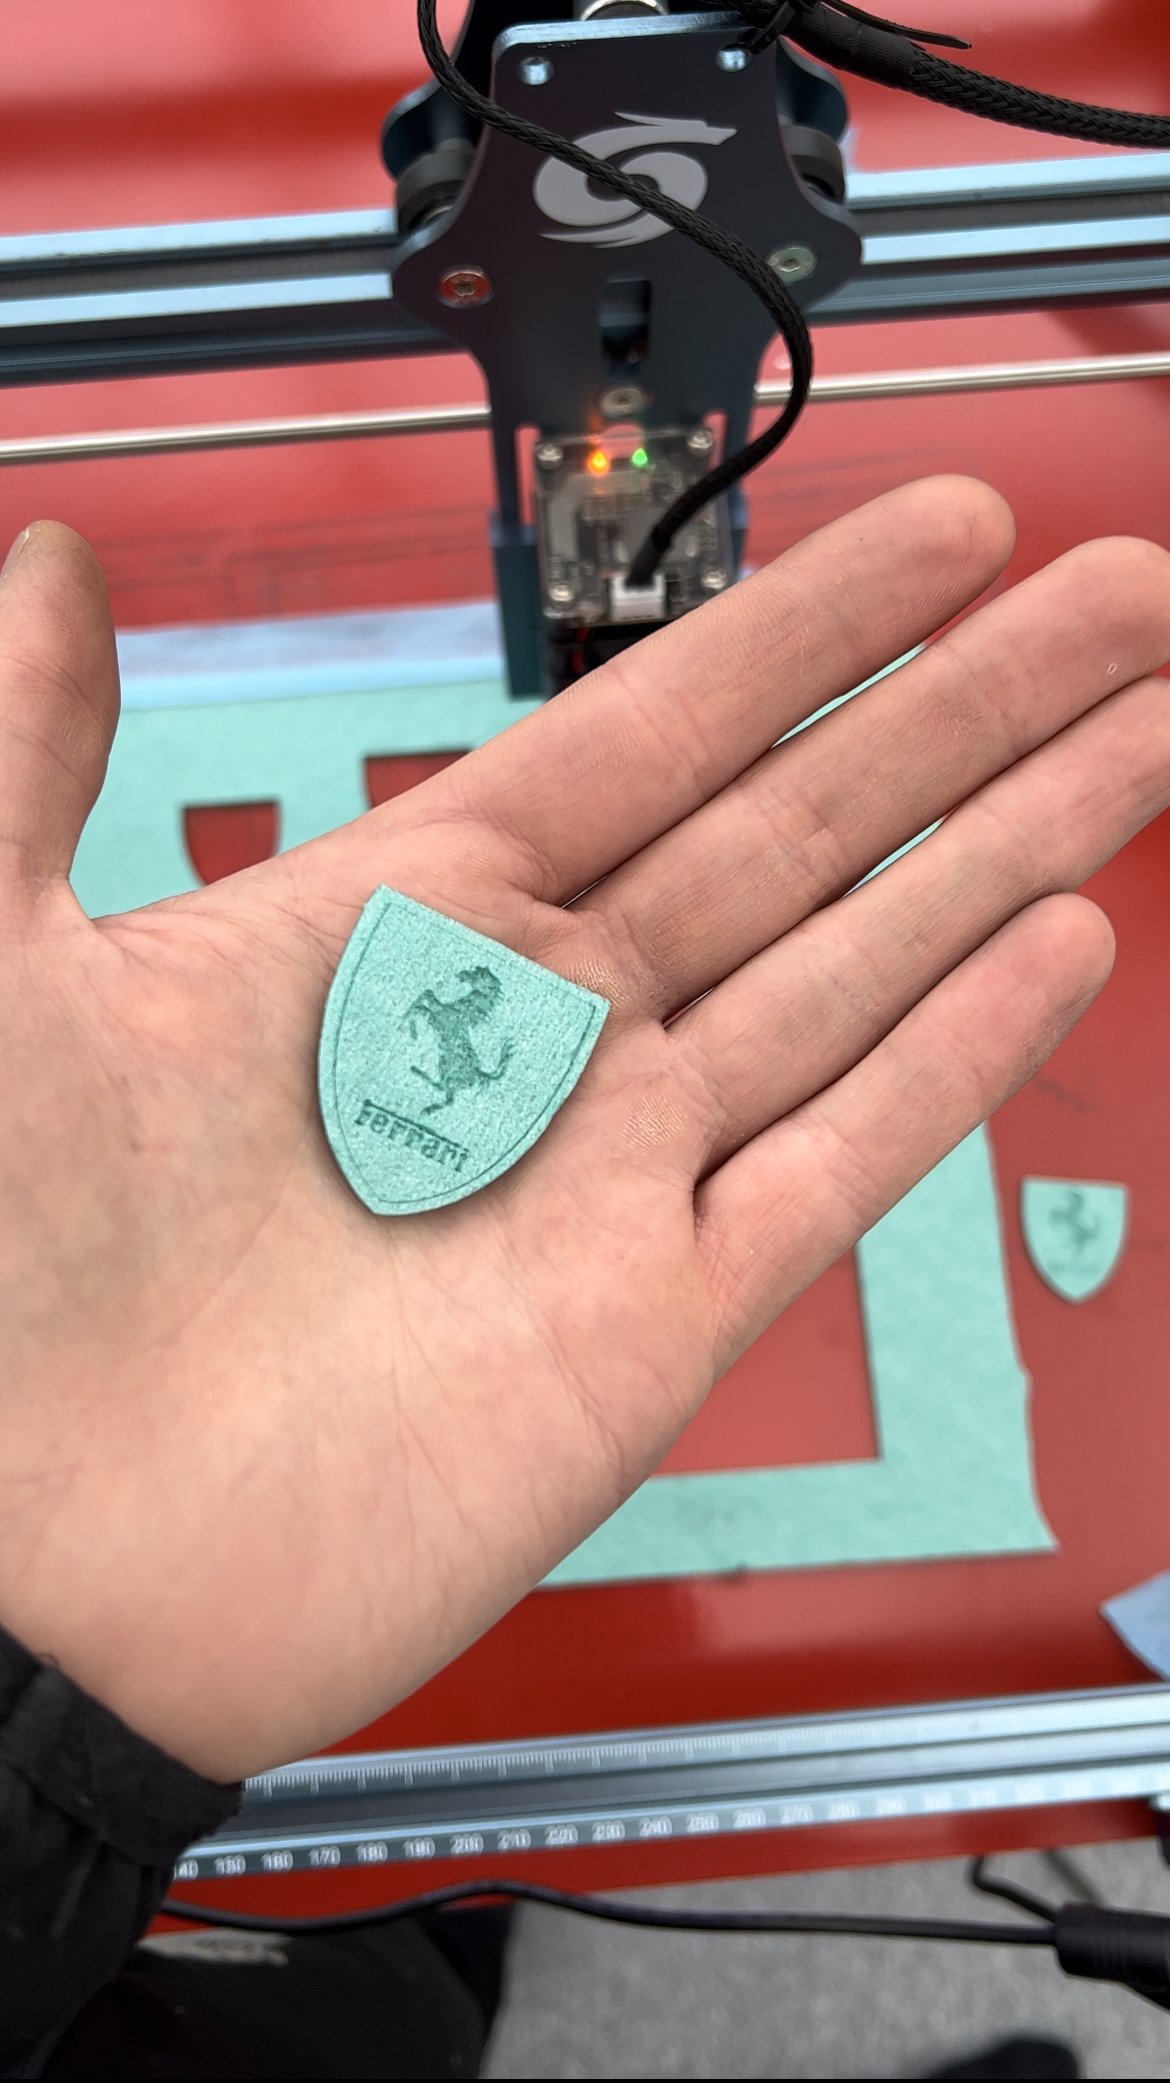
I made the brick pattern in illustrator, put the sheets in the laser cutter, and tried different settings before I got the perfect one. I solved a problem, and something I can use for incredible texture work for the next ones.
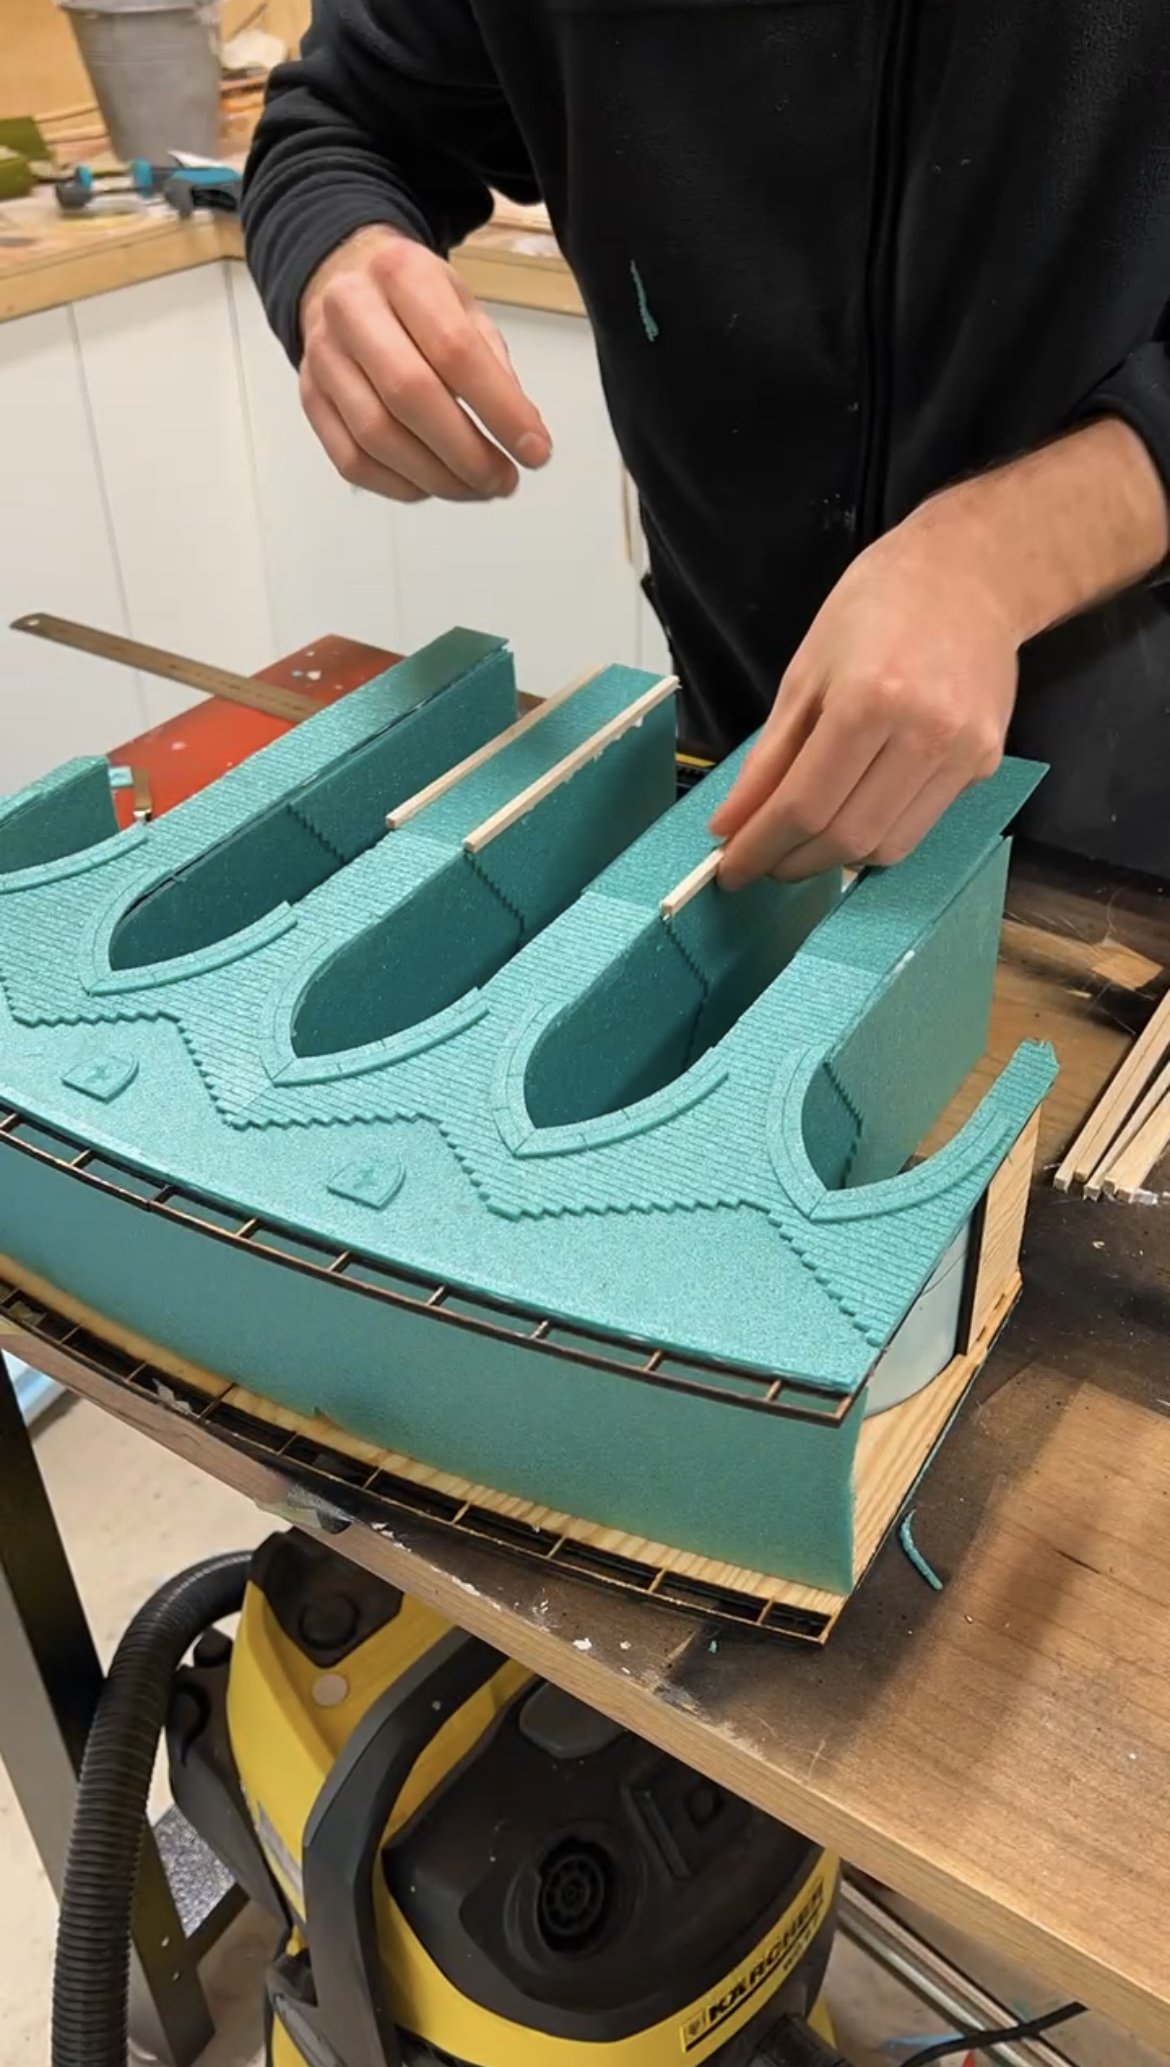
I covered the full bridge with this XPS, and it started forming. In this stage, I realized I could make incredible details, like small tiny, and super sharp details. Which I was looking for.
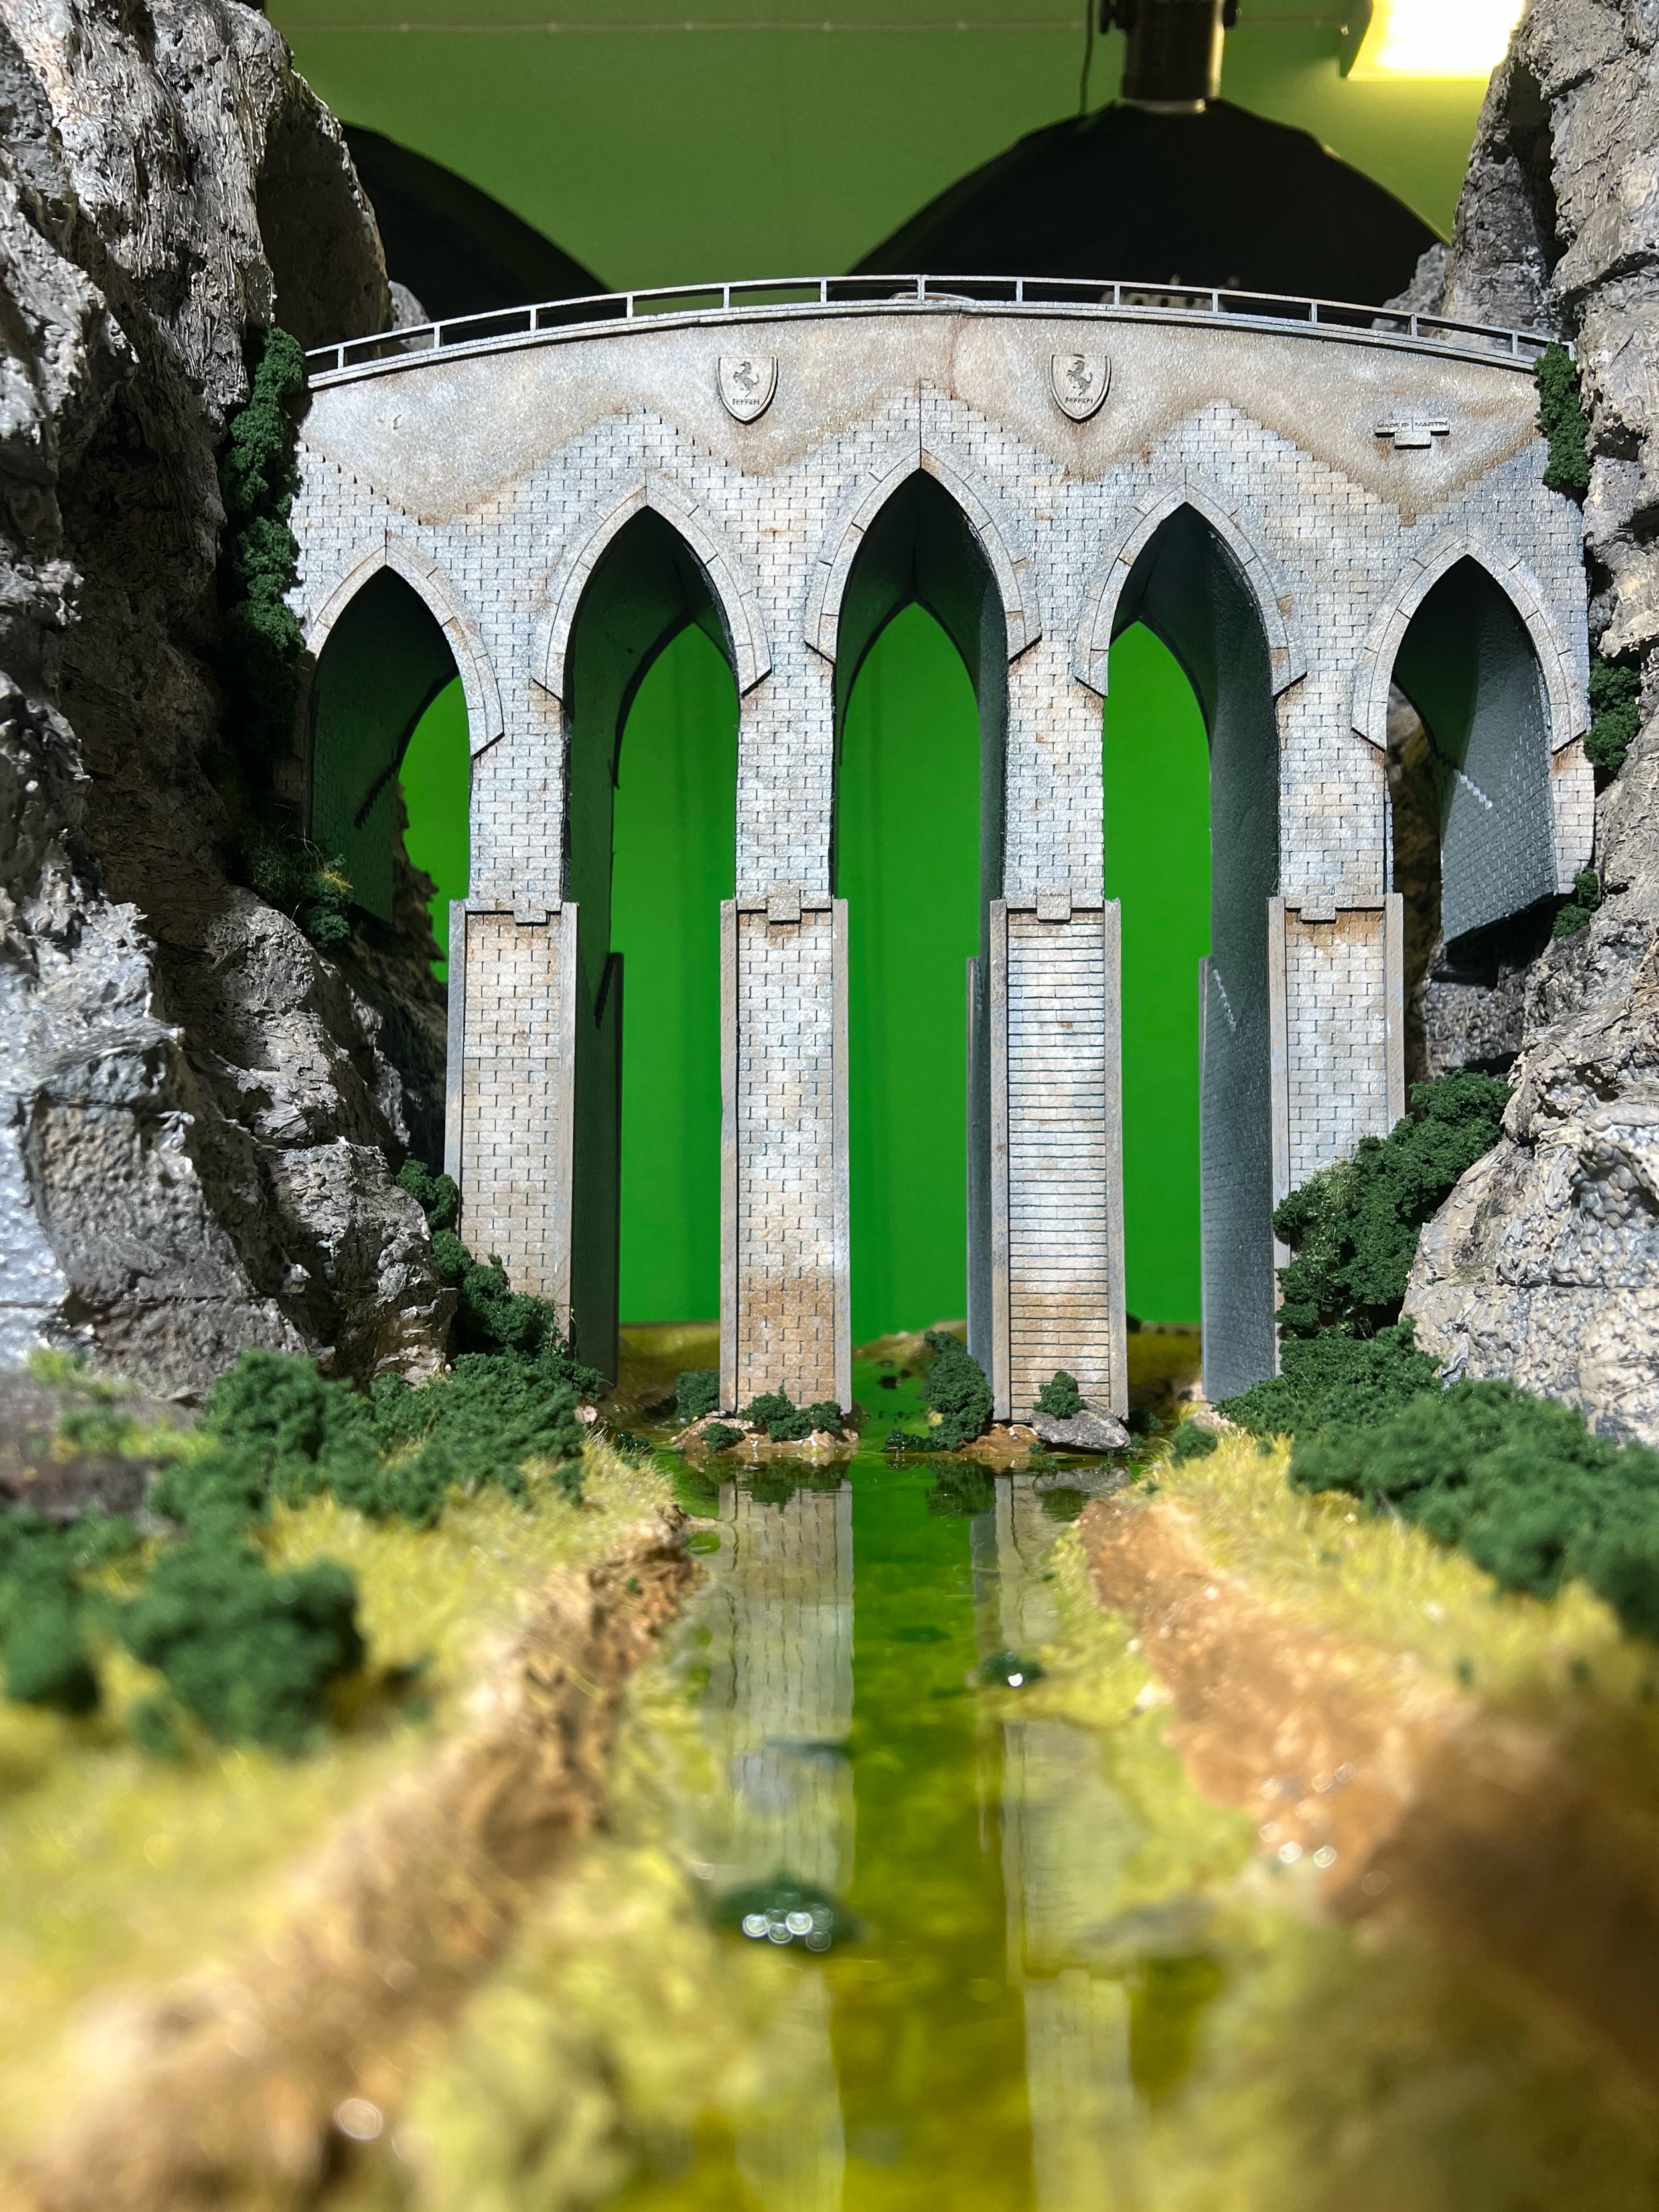
So I created small badges with the Ferrari logo and put them on the side to make it even more of a "Ferrari bridge."
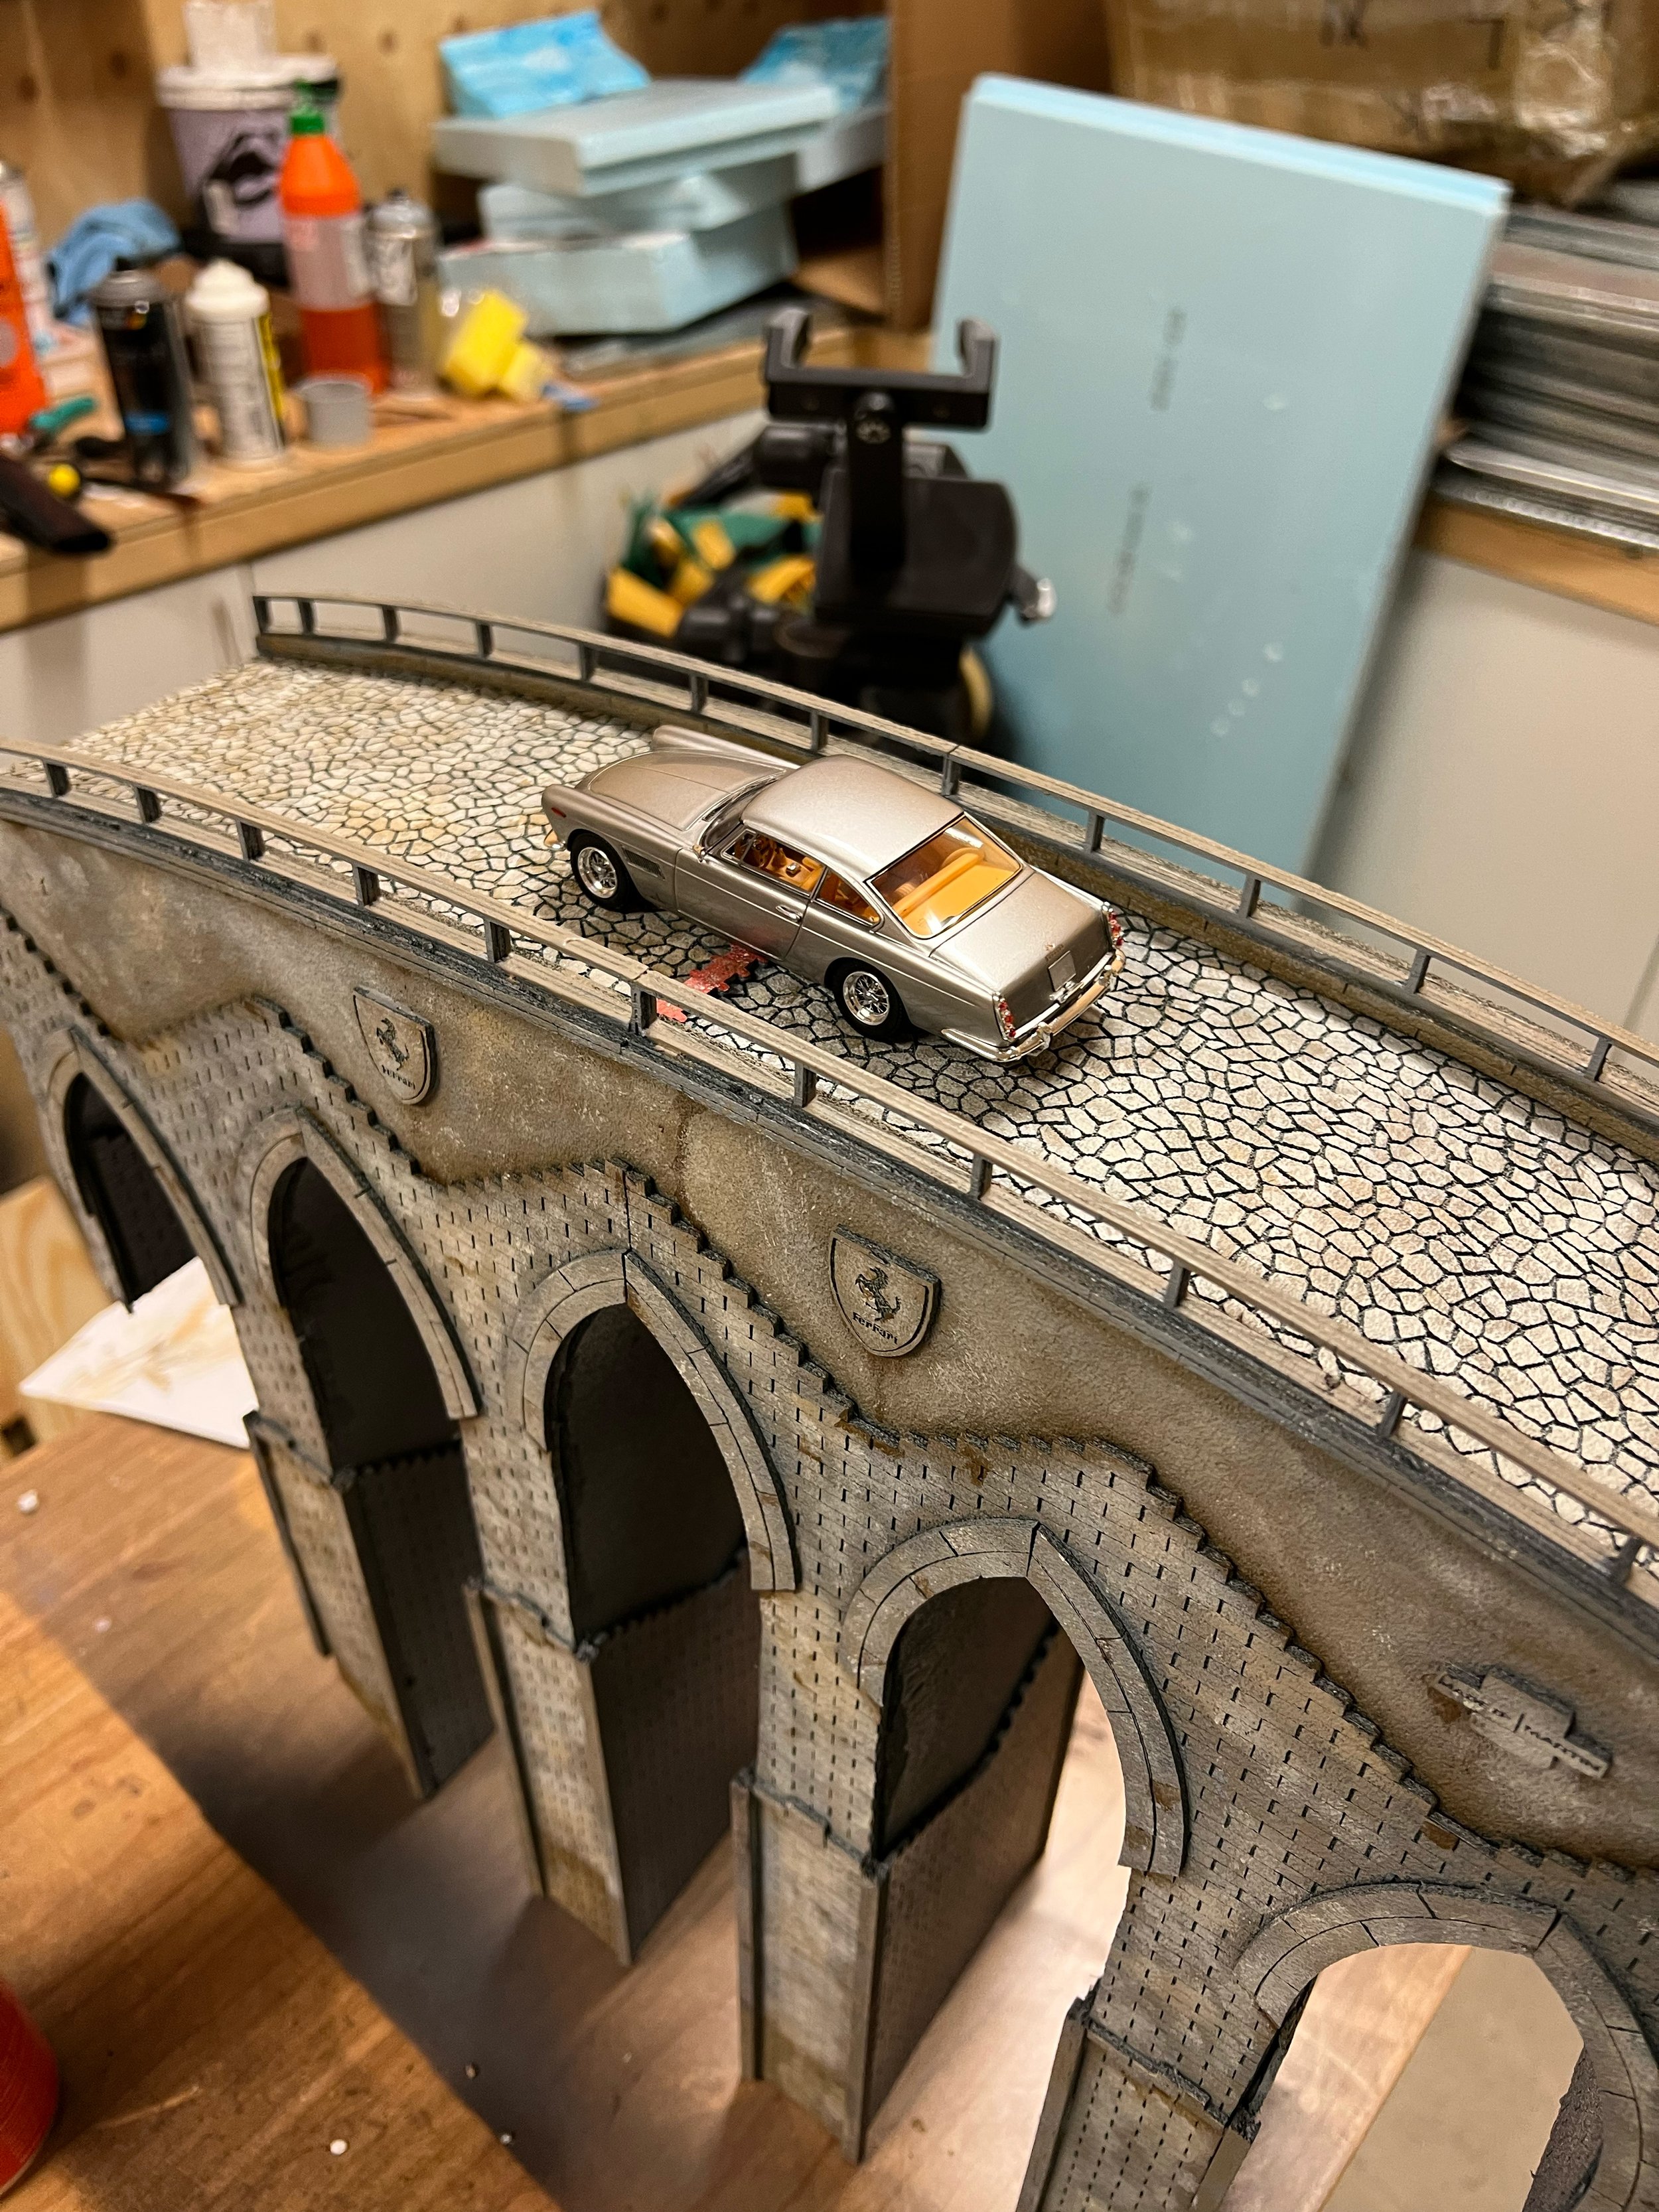
I was worried about the painting and whether there was a chance to have details covered by the colors.
But it doesn't. It went perfectly.
I dived into the details and got a perfect, sharp, and very cool Ferrari Bridge.
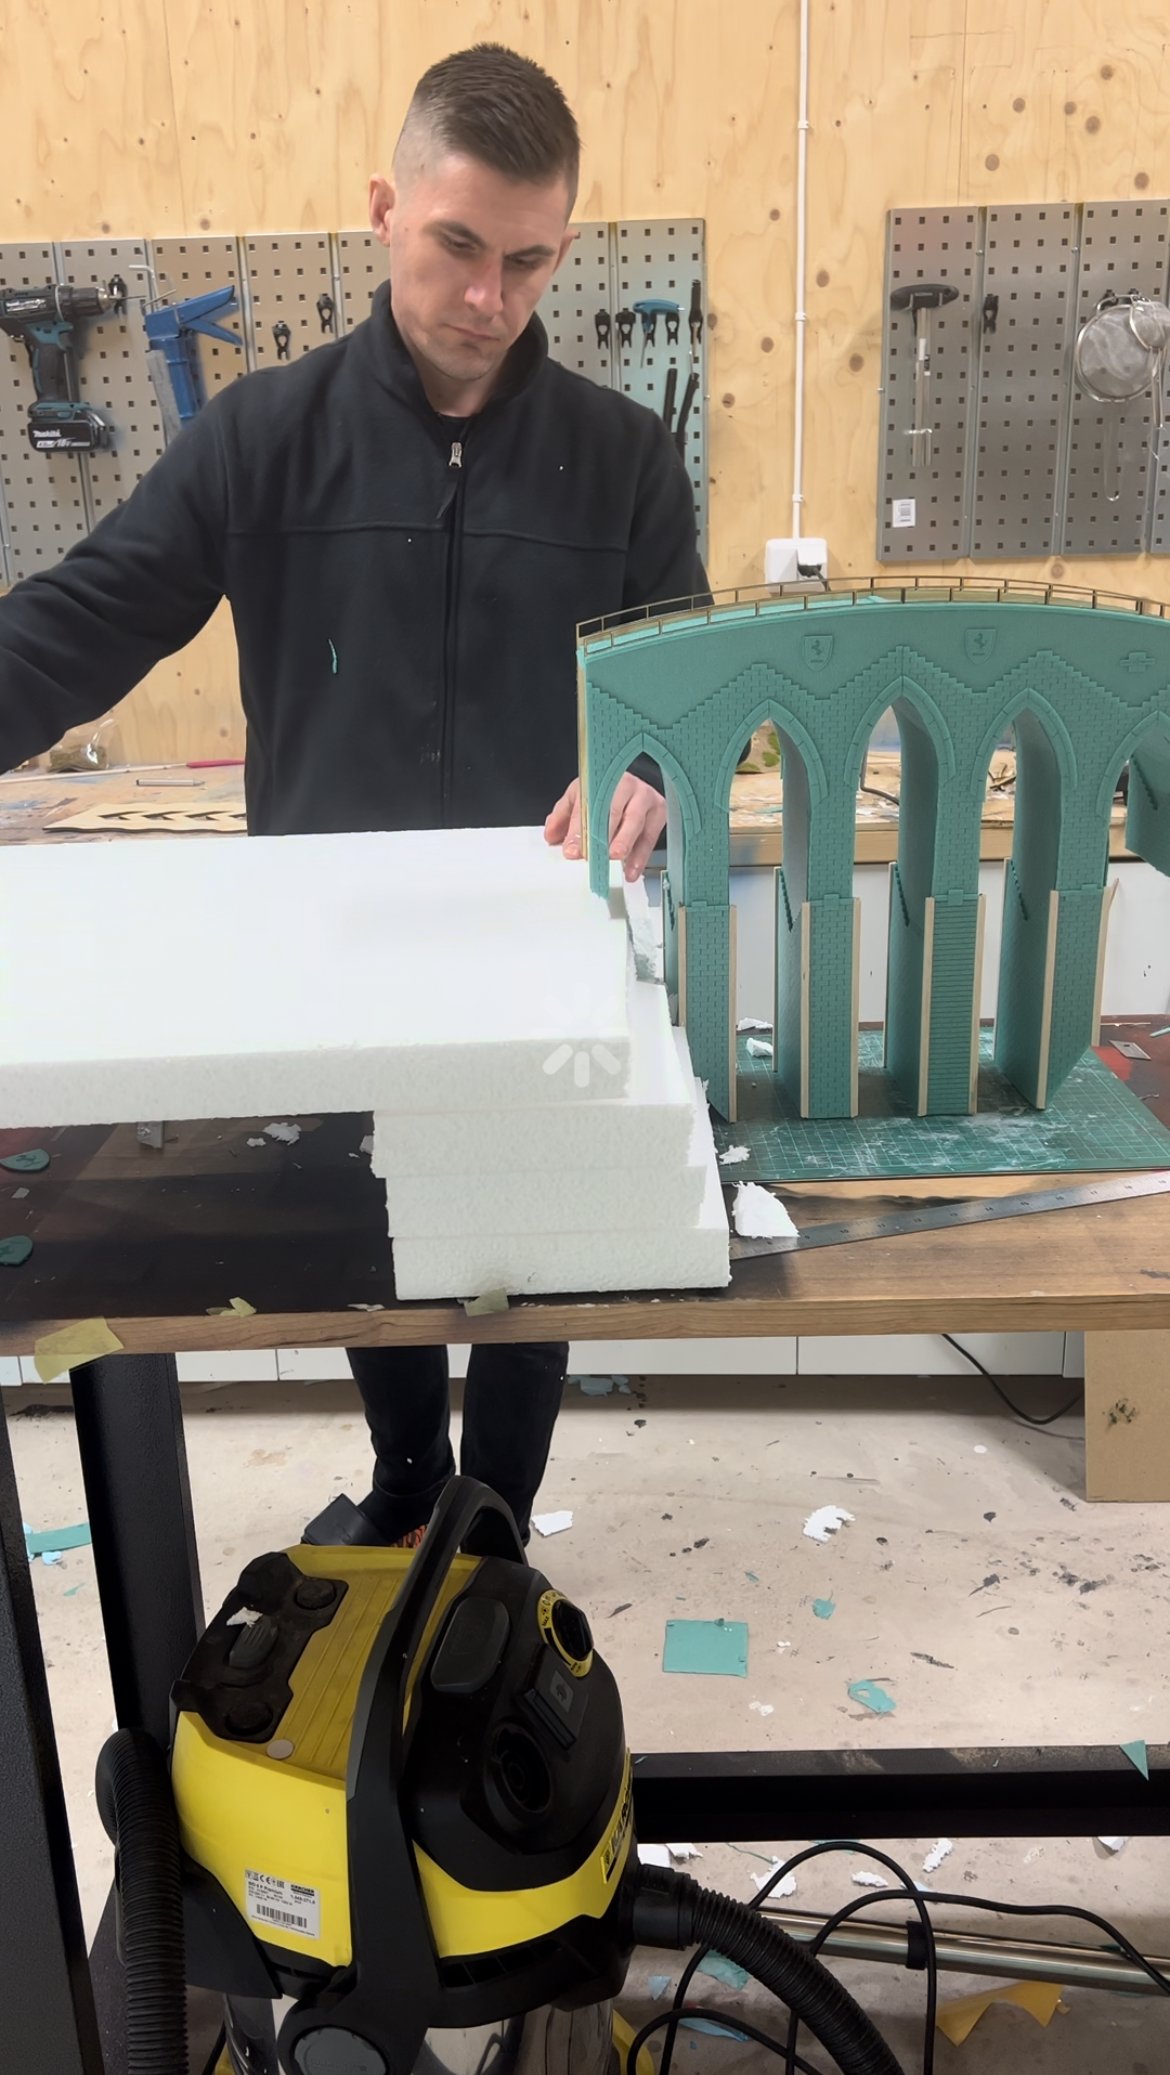
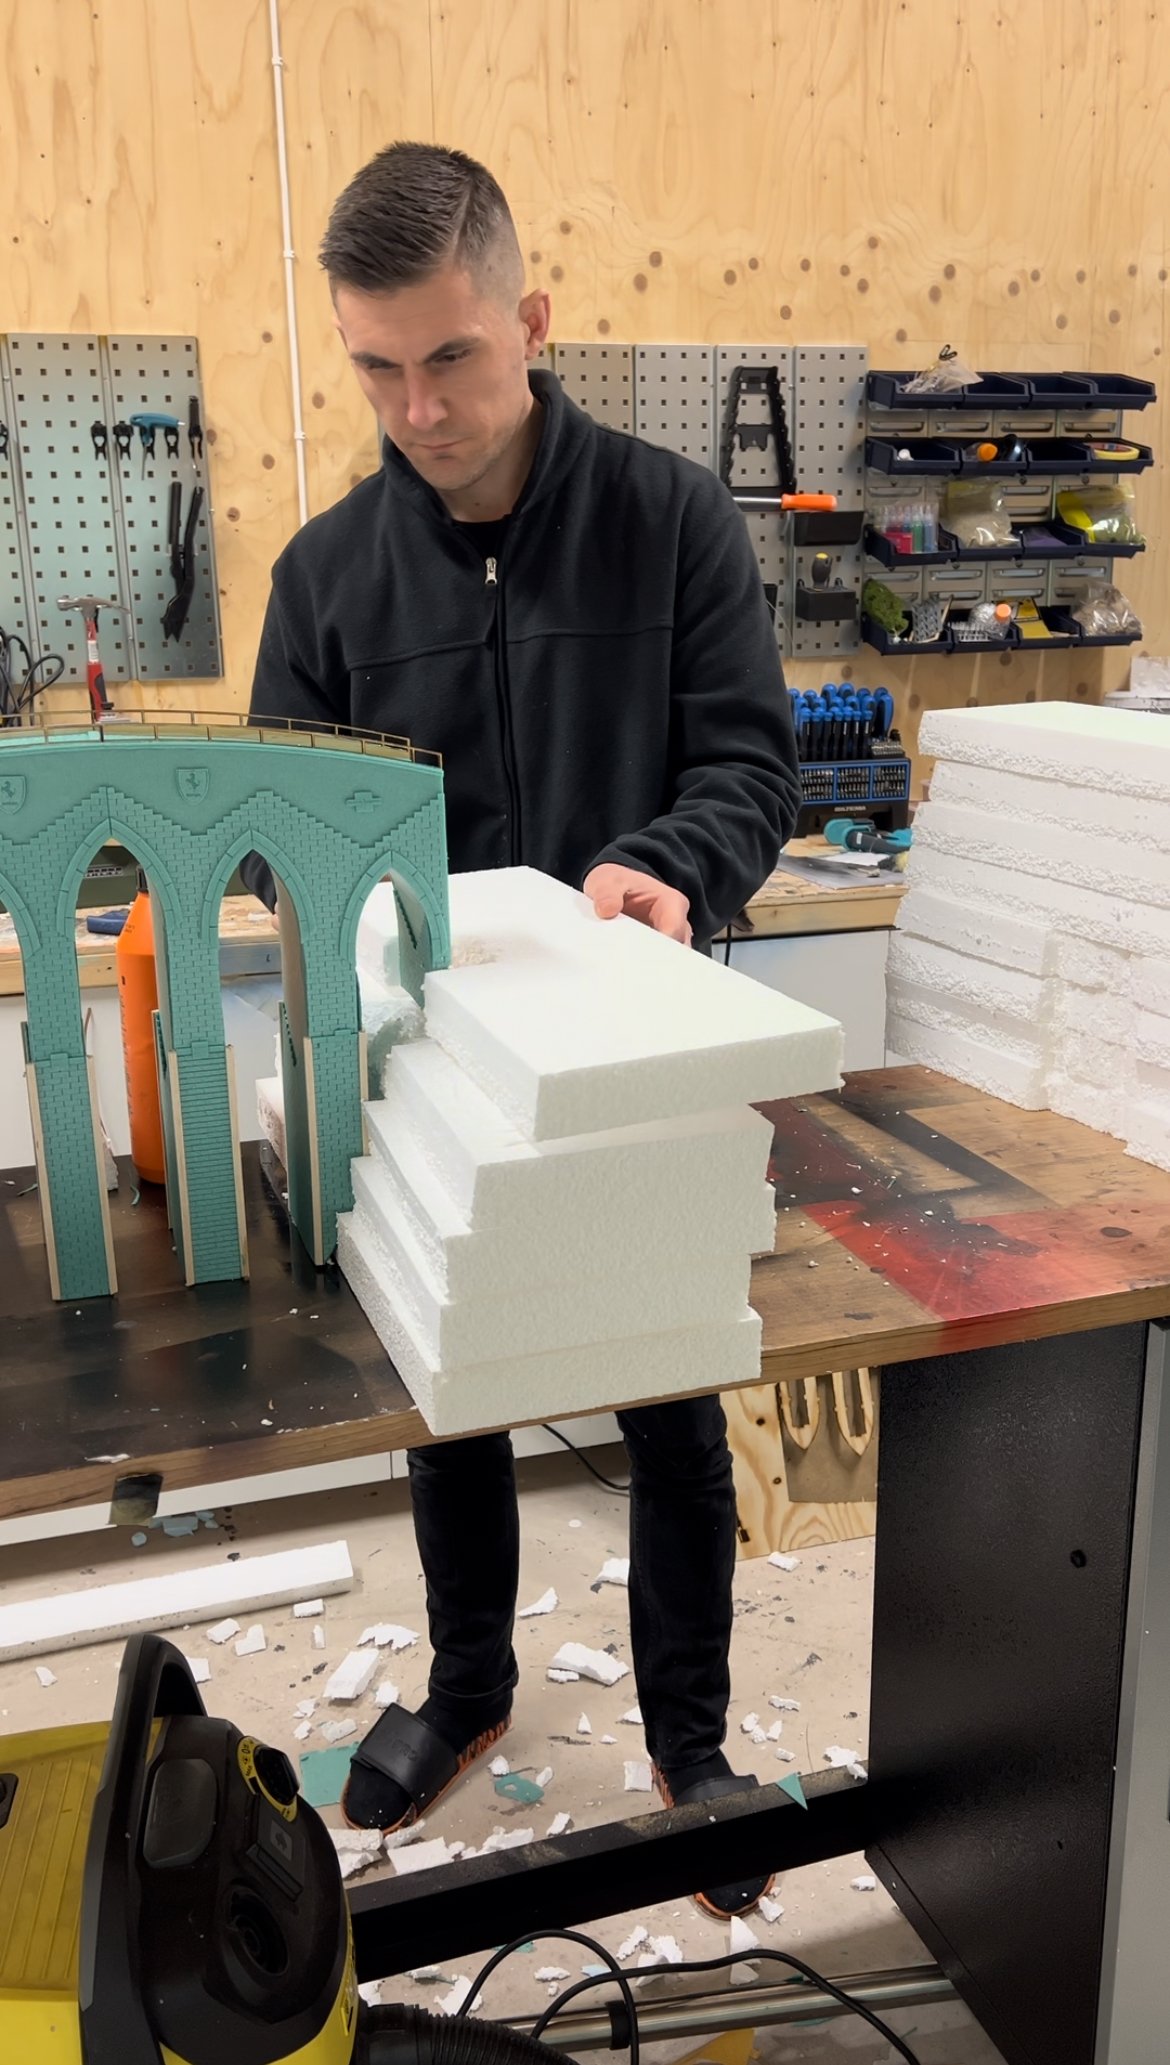
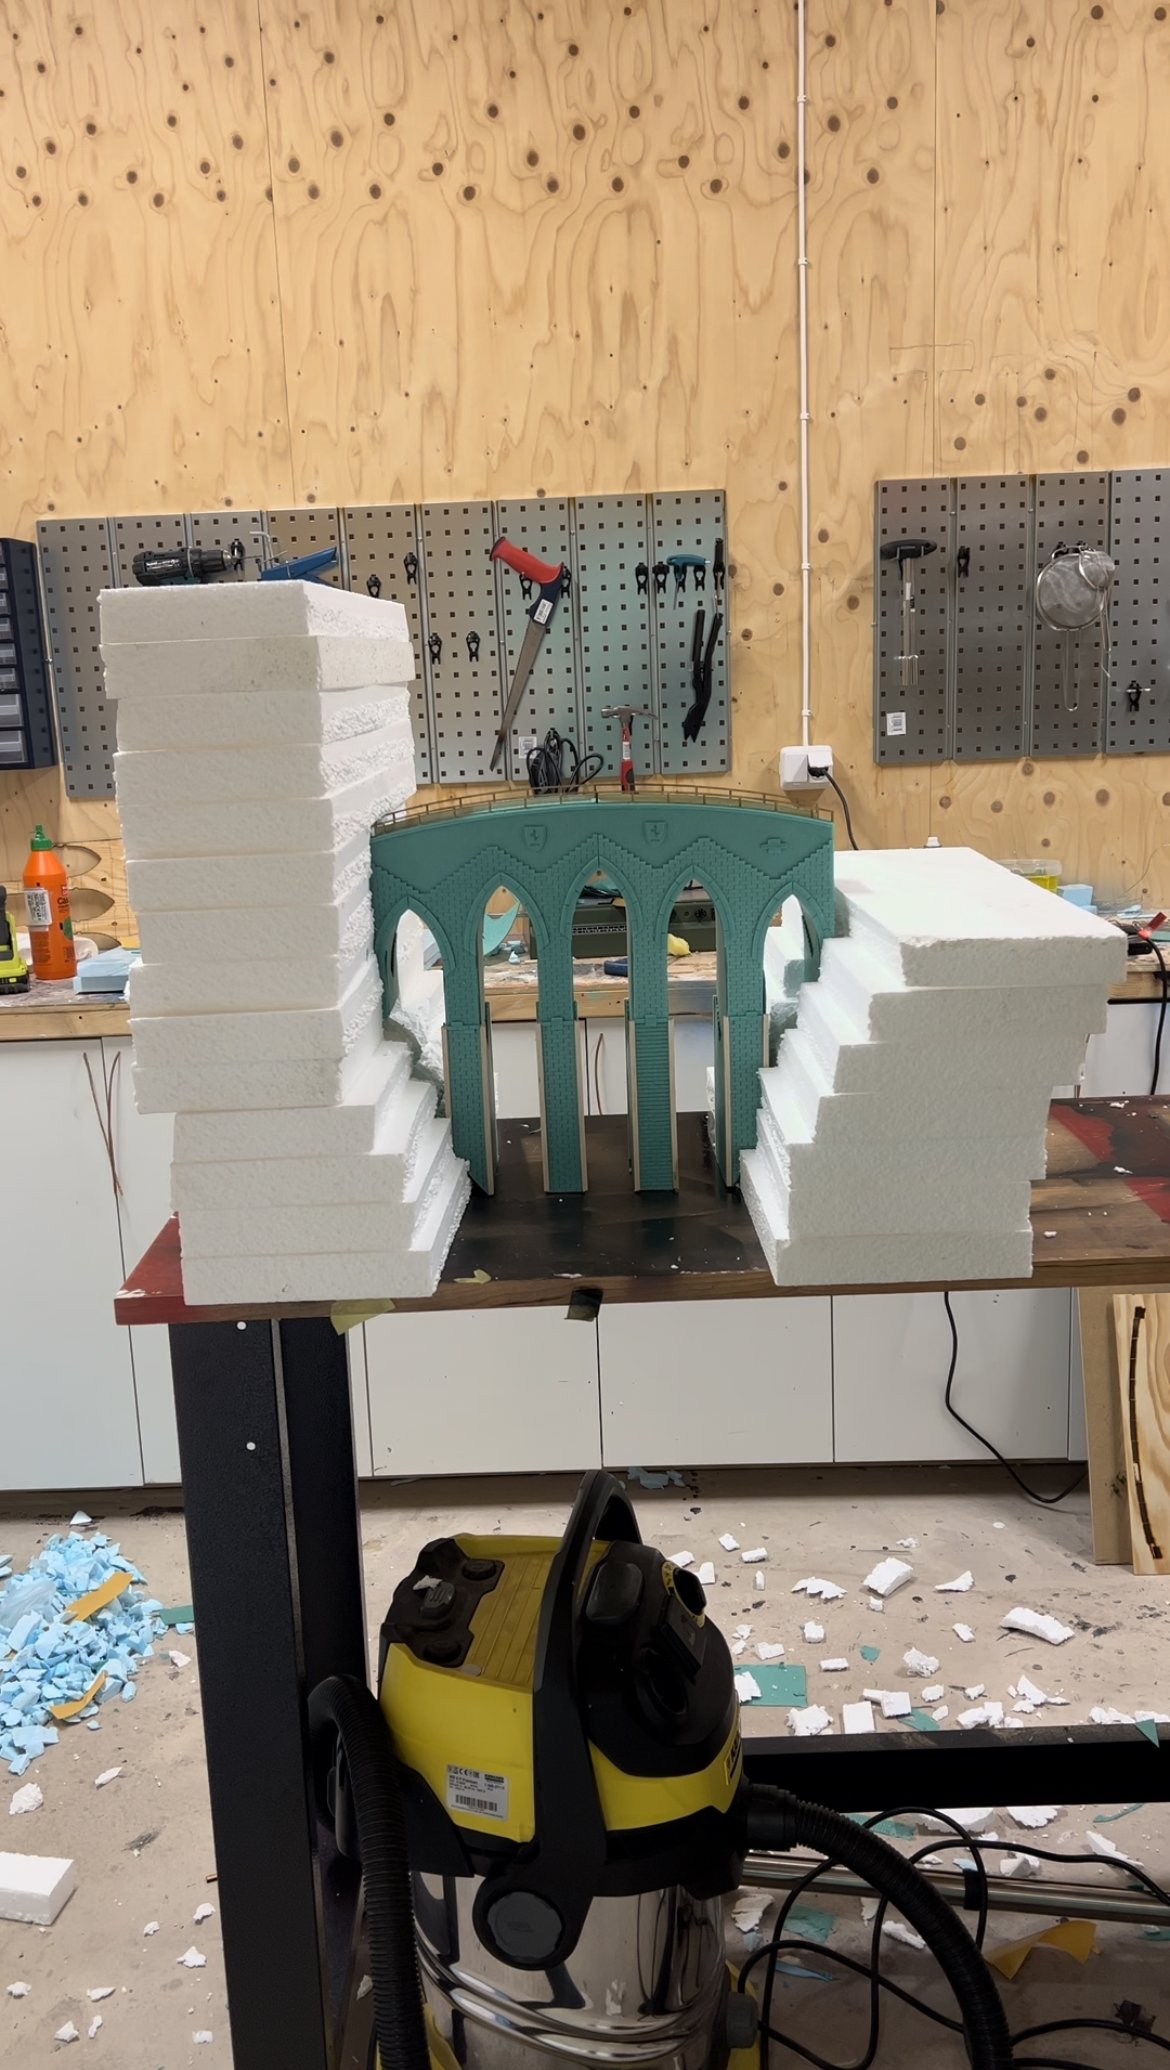
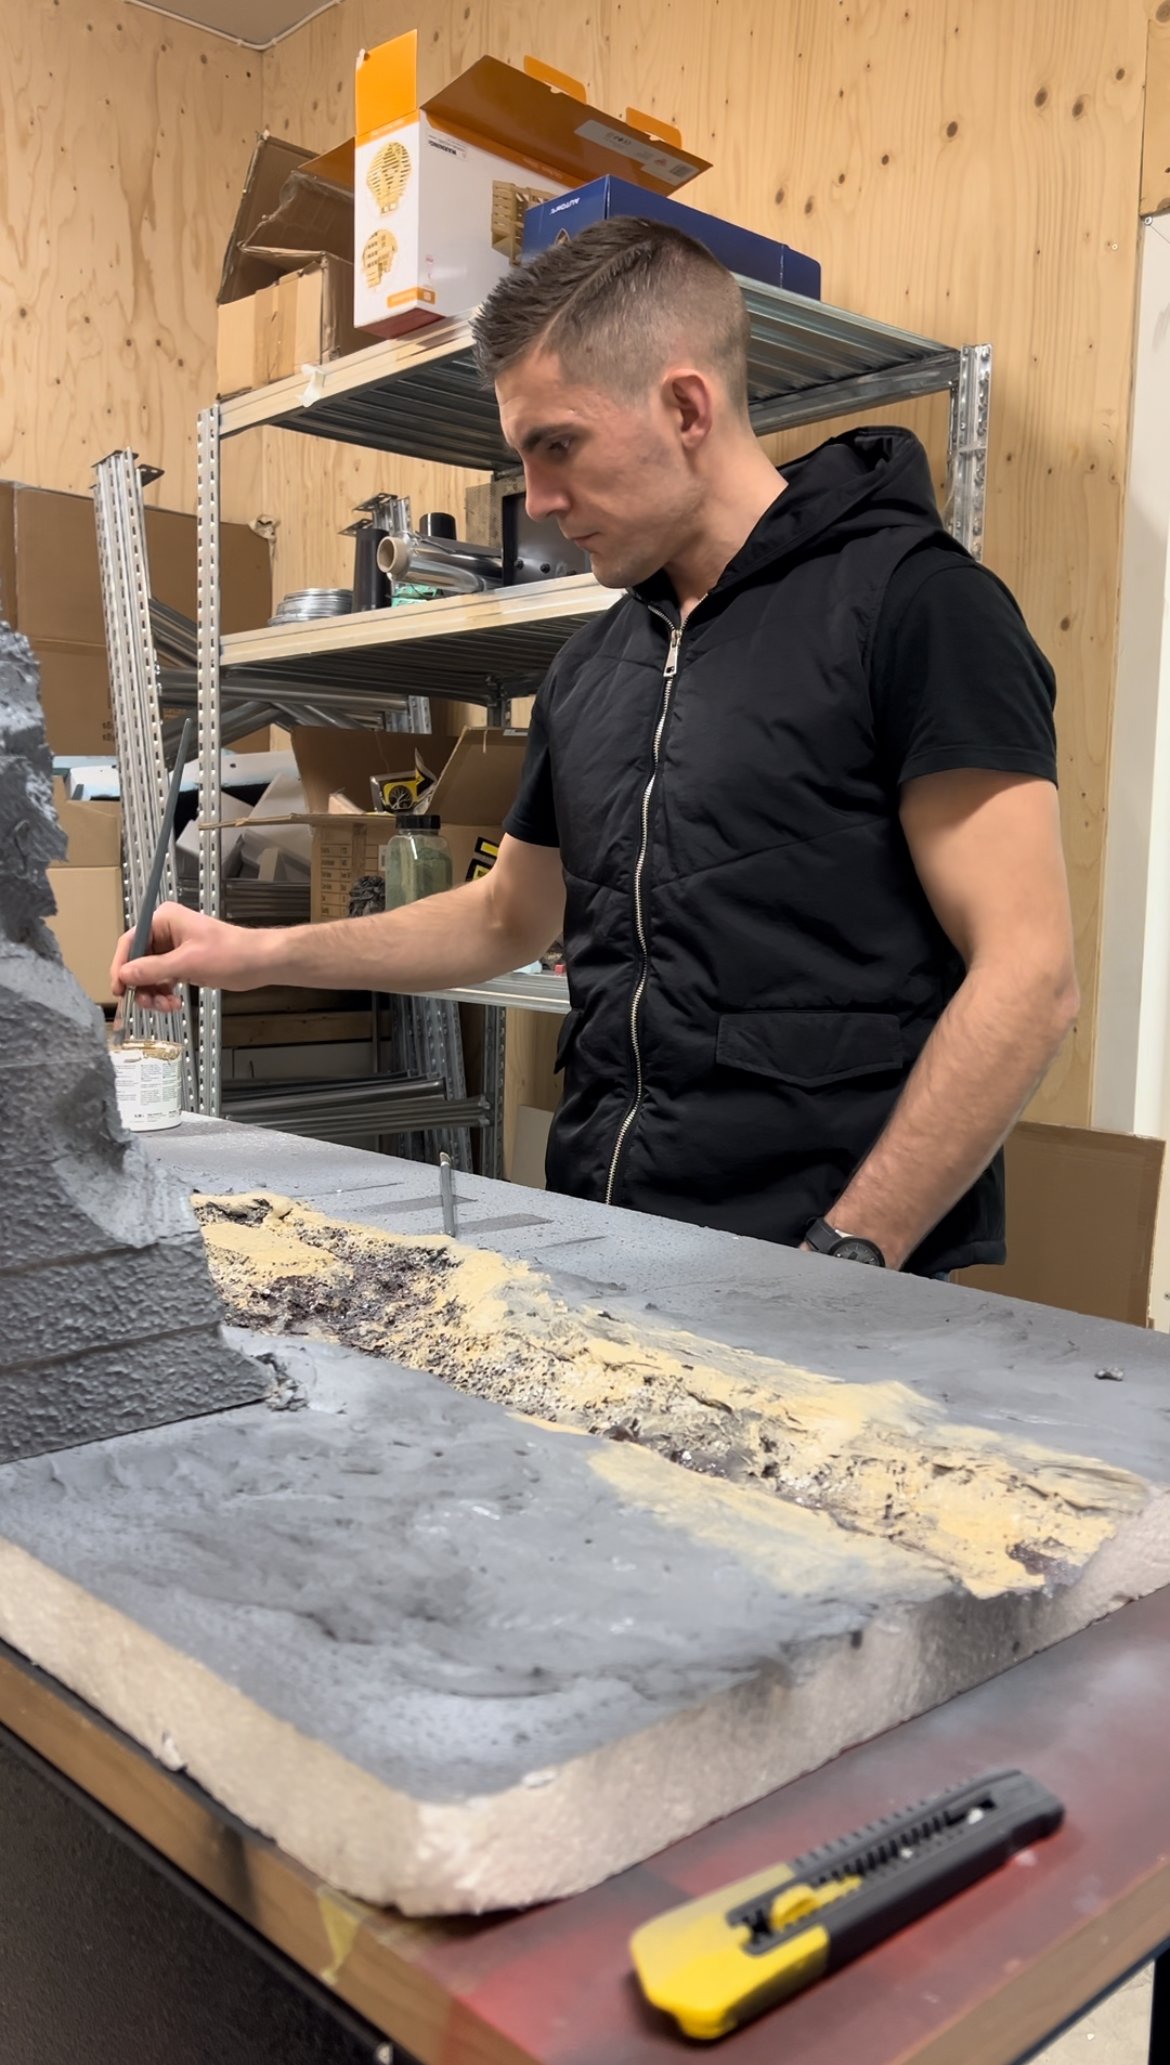
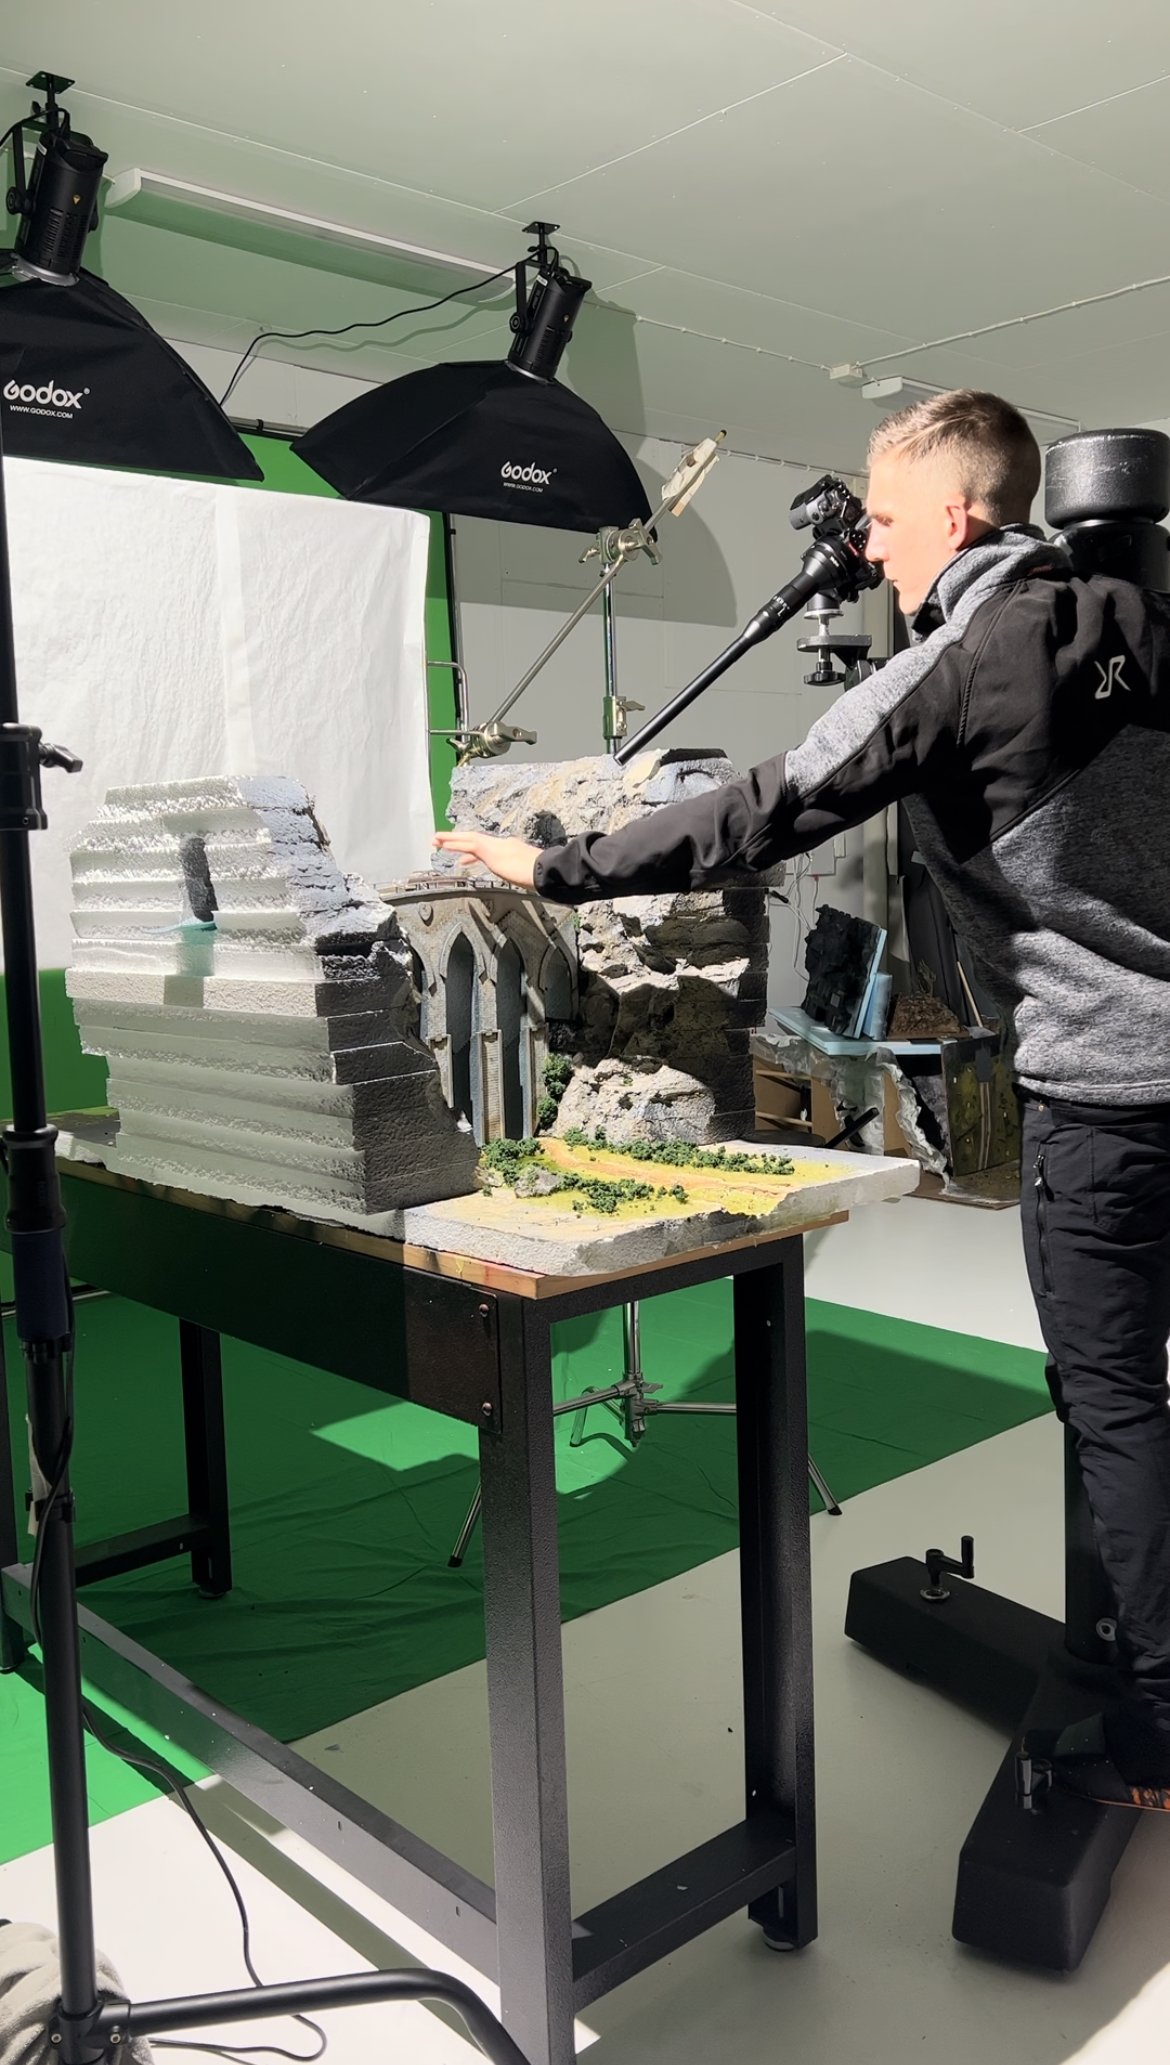
The next thing was to shape the mountains and the ground. Those three elements needed to fit with the bridge.
I measured and built each wall to the shape of both sides of the bridge.
I carved the mountains with a paper blade knife - and in this case, I used regular white Styrofoam, which was a winning concept. It was much easier to carve out the shape versus Blue XPS foam.
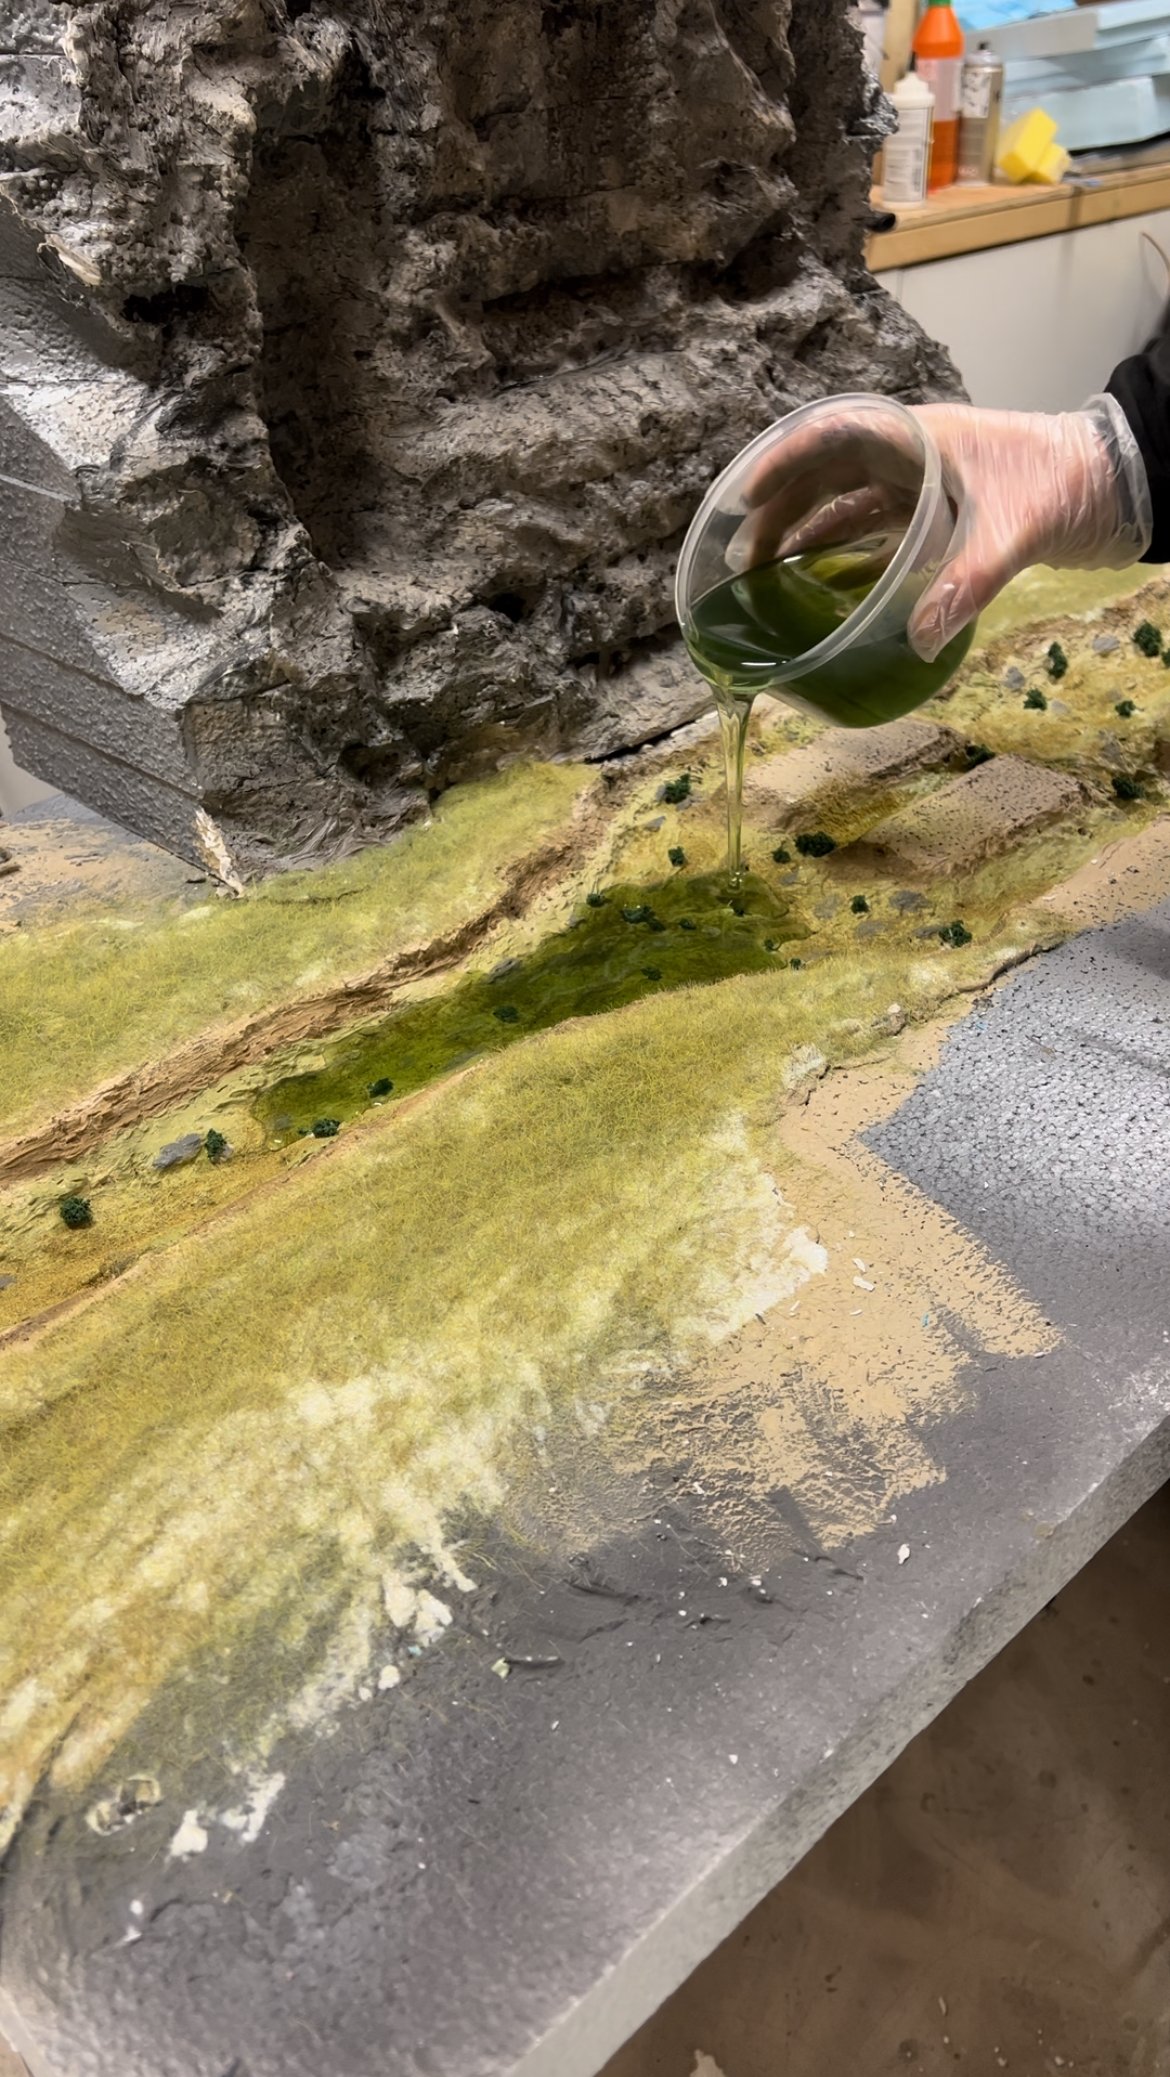
I carved out a river under the bridge and added the coloring of sand in the first layer, as usual, and in the second layer, I added green to make the river more colored as possible. The color of the river should be green.
I have seen some from Italy. There was green, which makes this scene even more remarkable. I added some details like bushes, stones to the bottom of the river, and darker green to make it "deeper."
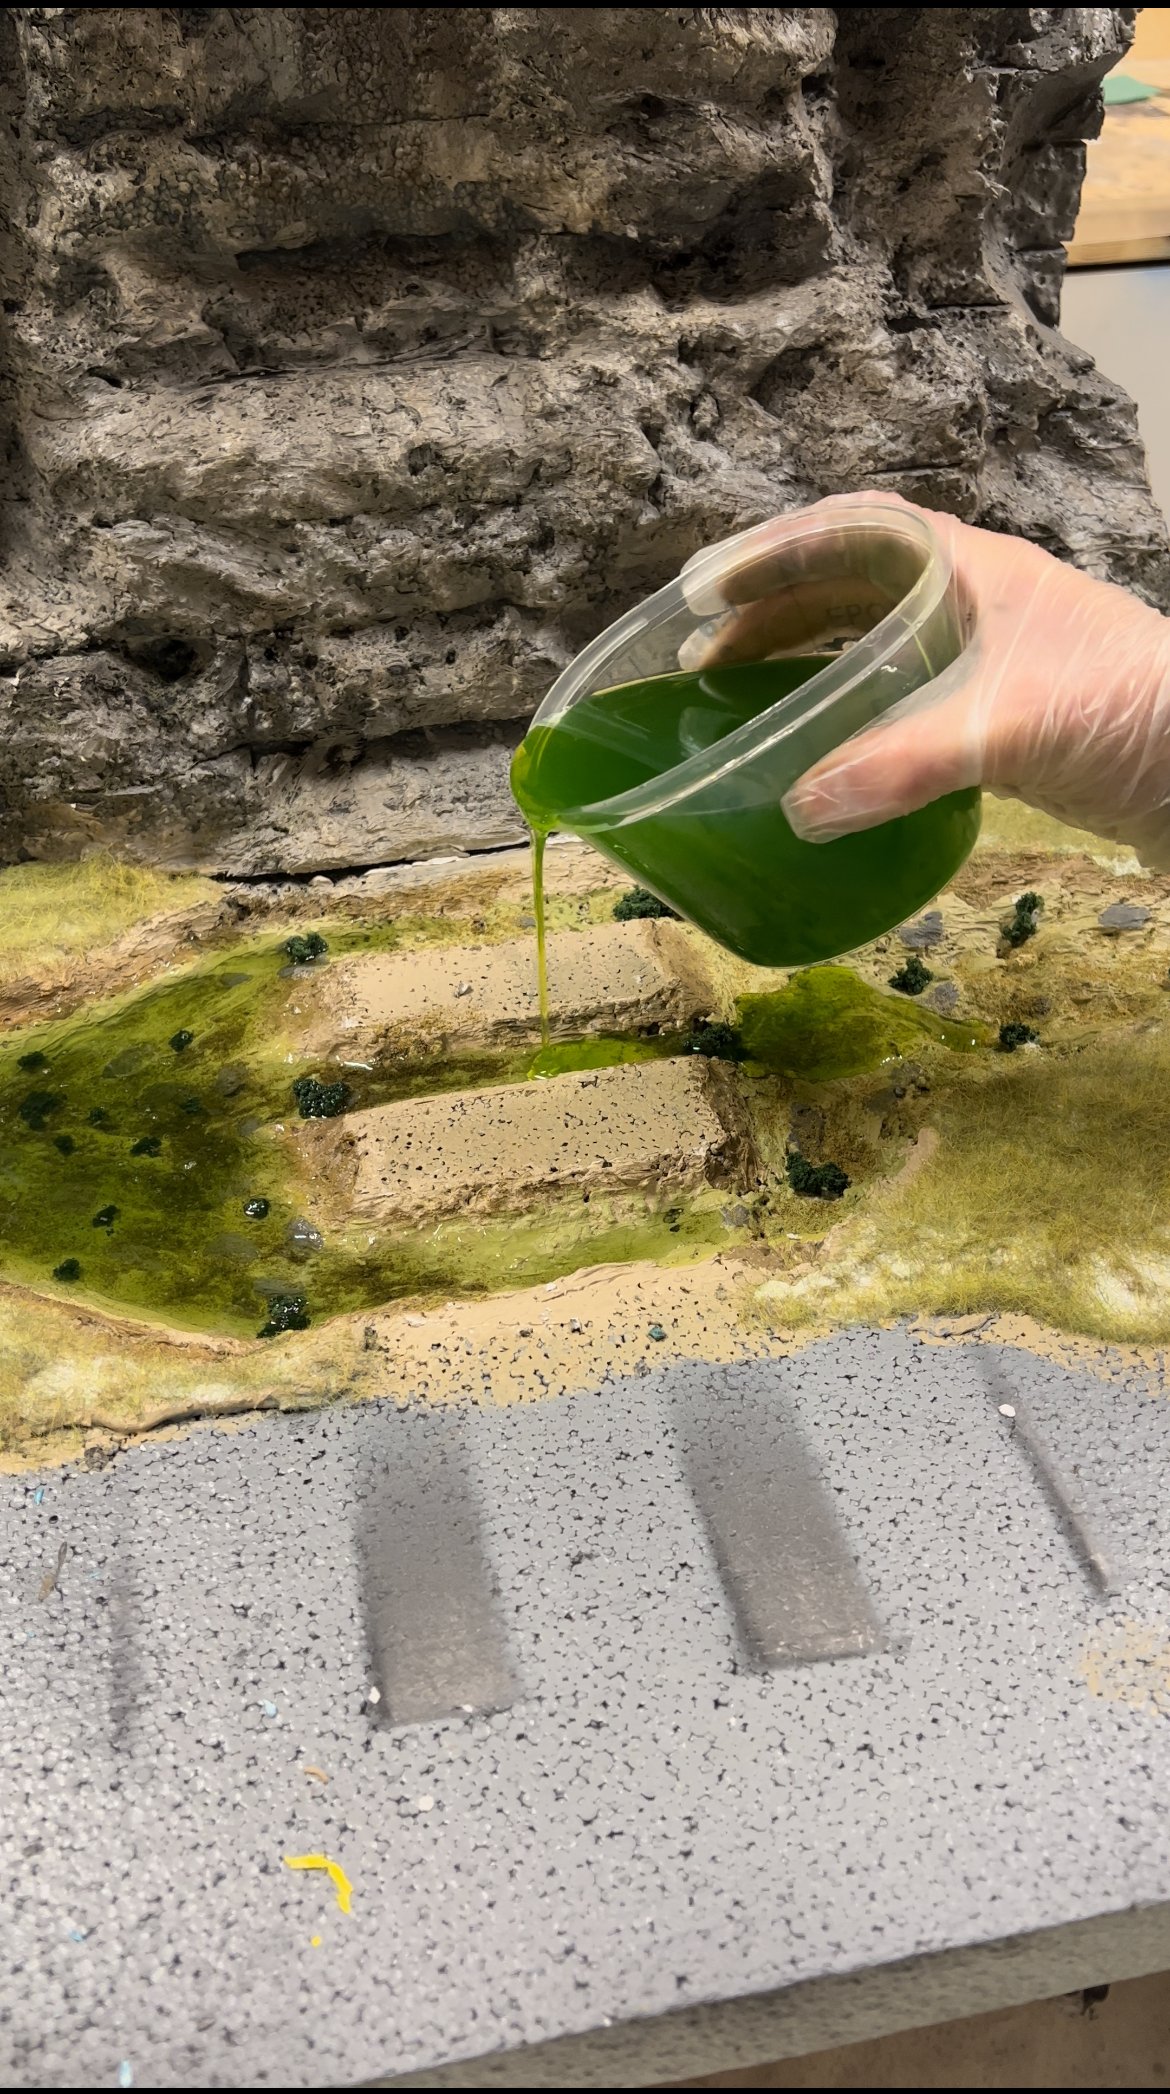
The step there I should think about one more time before I did it was when I should add the final grade for the river—the epoxy.
The full drying/hardness time is about 72 hours, so I had to leave it over the weekend to have it finished when I returned the week after.
When it came to the first time, even though I researched on YouTube before, I did not think it could go through Styrofoam, but I realized that when I came to the office the day after, I applied it. It has been dropped...
And when I returned to the office on Monday, it was stuck on the table...
I could put a plastic bag underneath to solve that. You learn from your mistakes... I guess :).
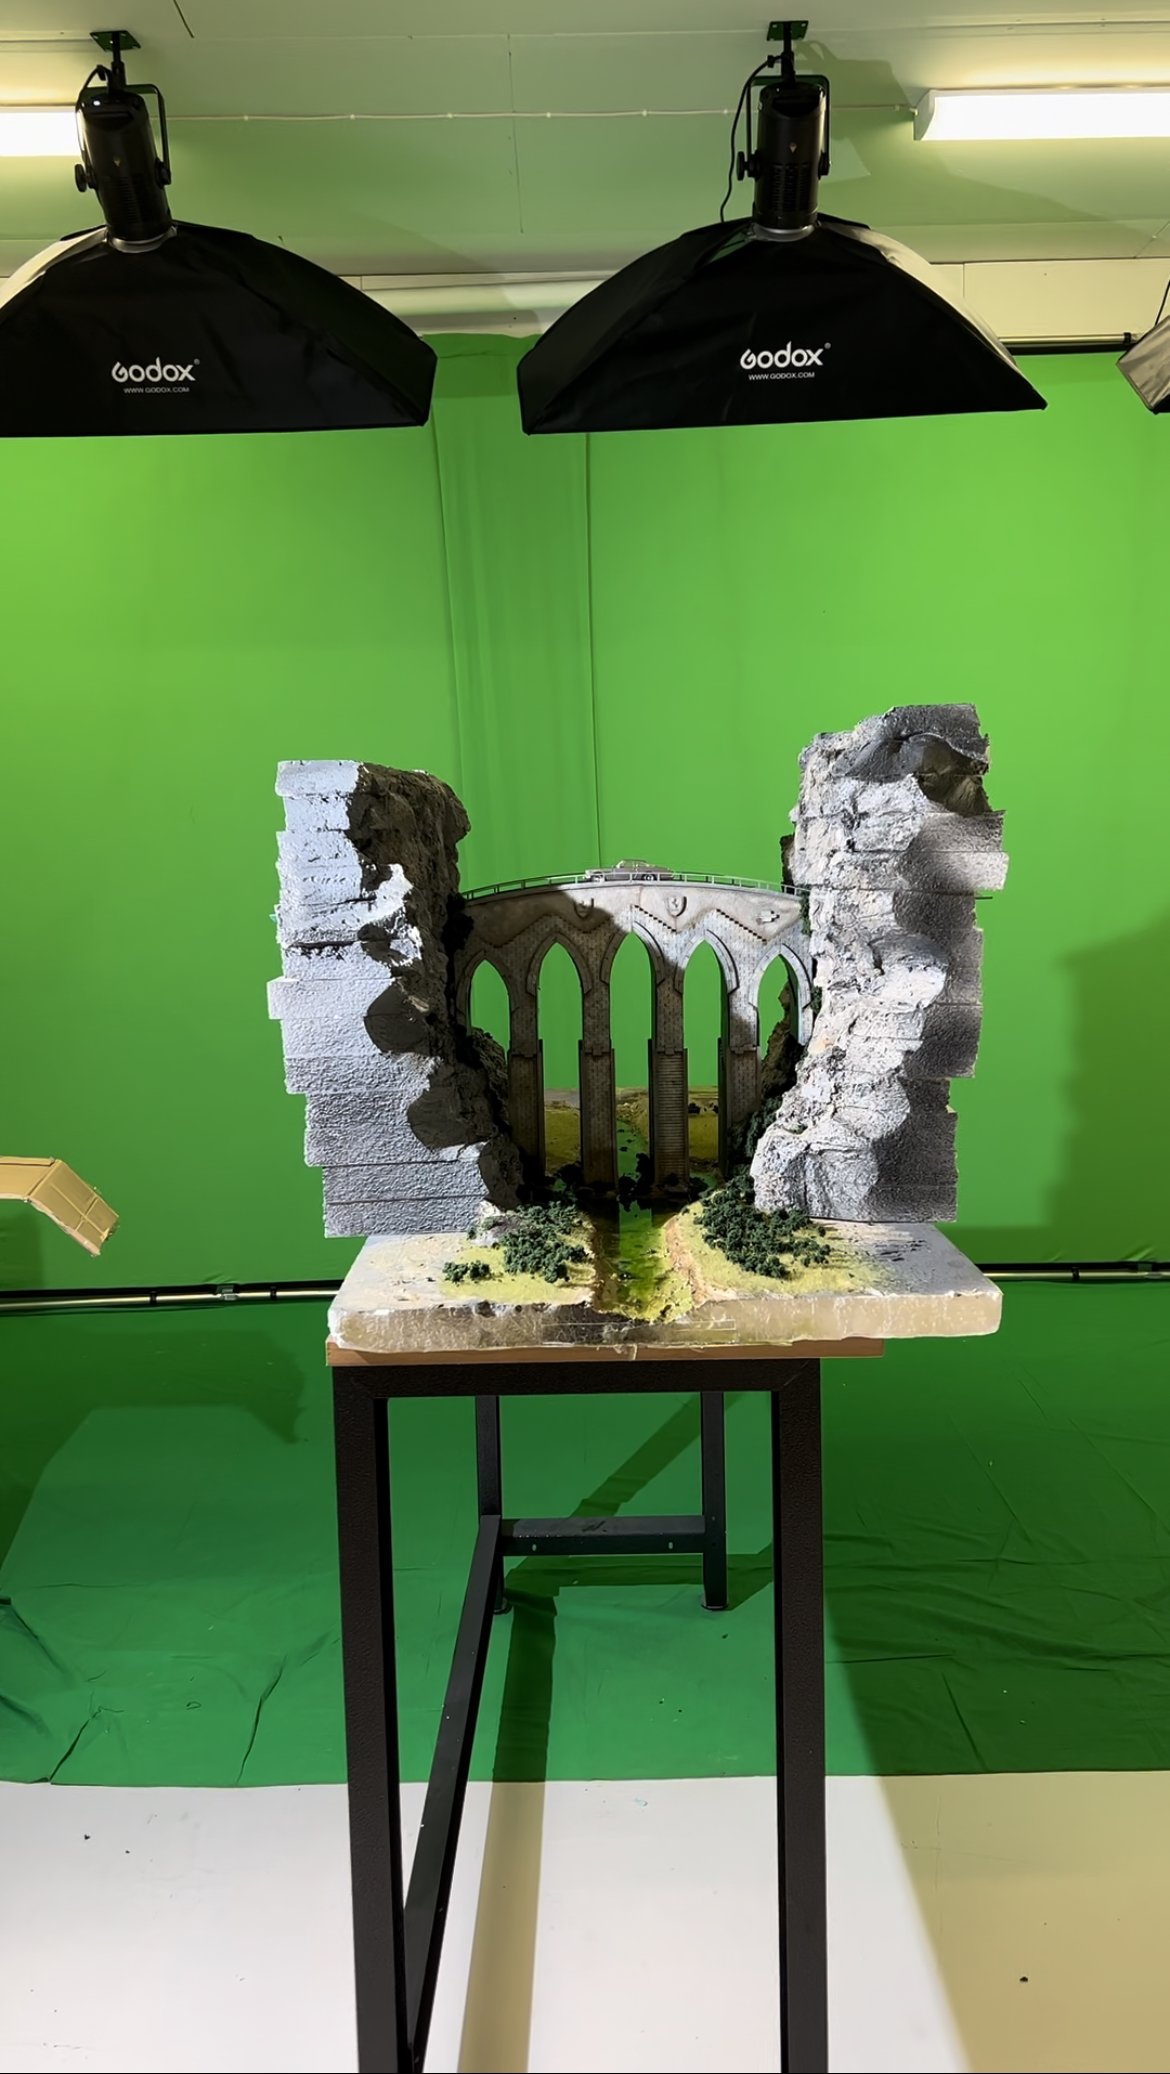
The landscape turned out like my vision initially, and the pictures were the best I ever made, including the diorama with the bridge, mountains, and river. The level of detail was crazy.
And I couldn't be happier with the results. I put this project in the top section of my portfolio and pride.
Please take a look at some BTS and final images below.